Even if they’re very very slow 🙂
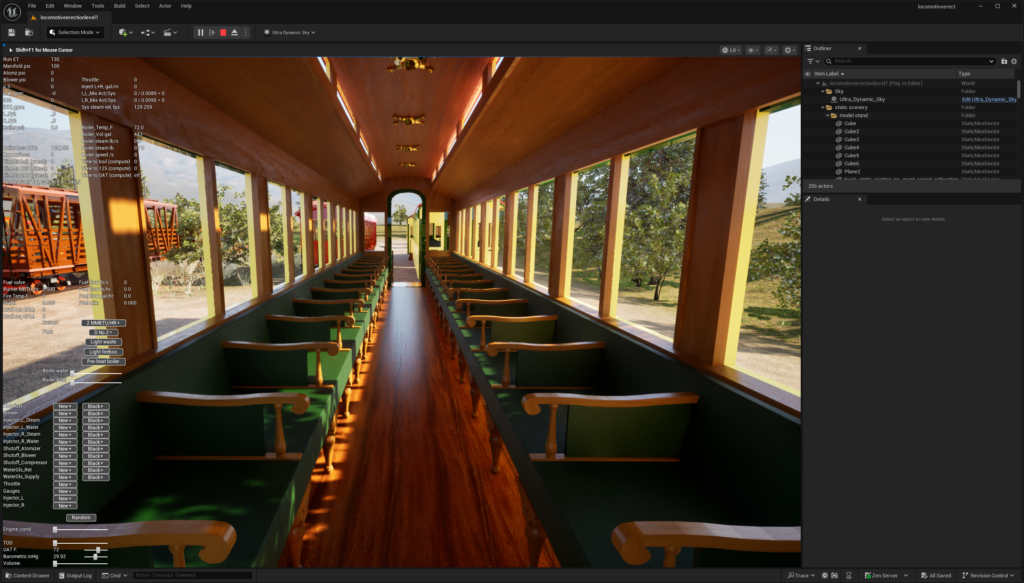
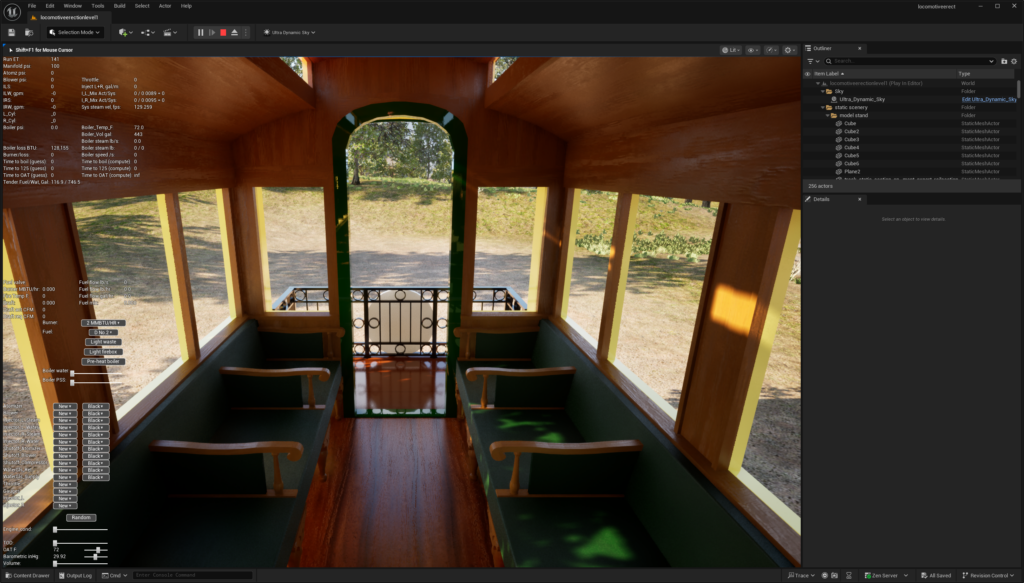
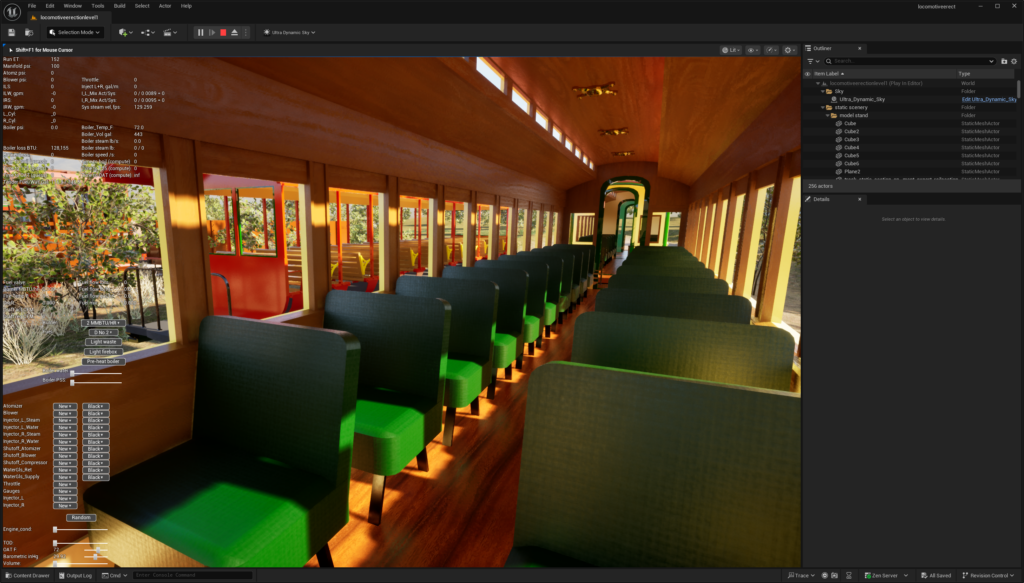
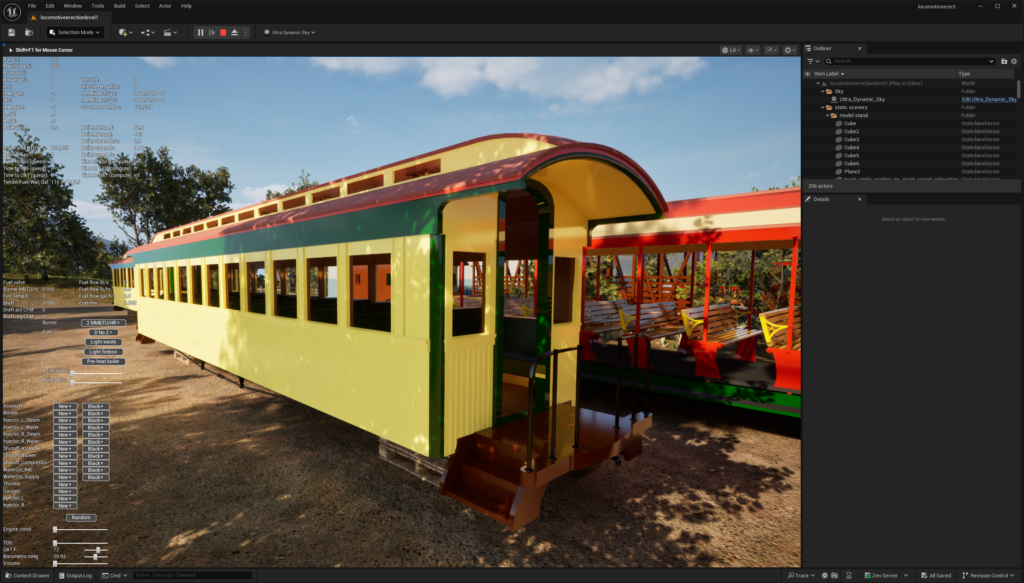
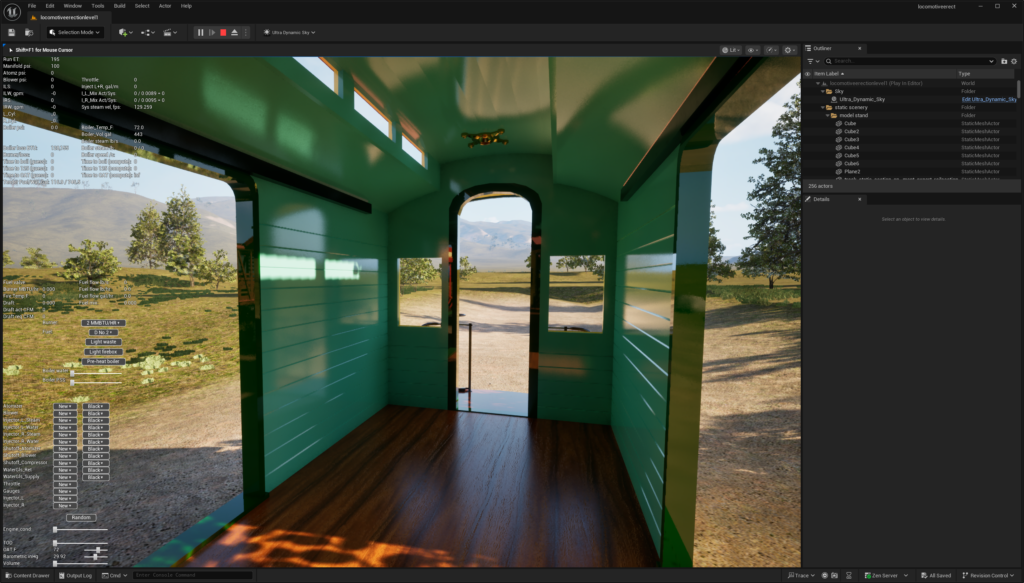
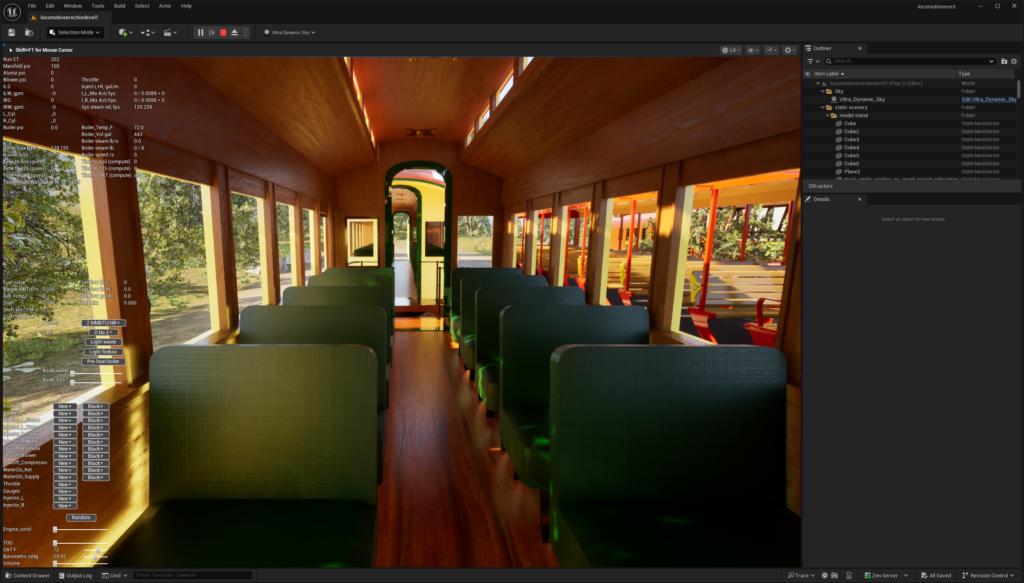
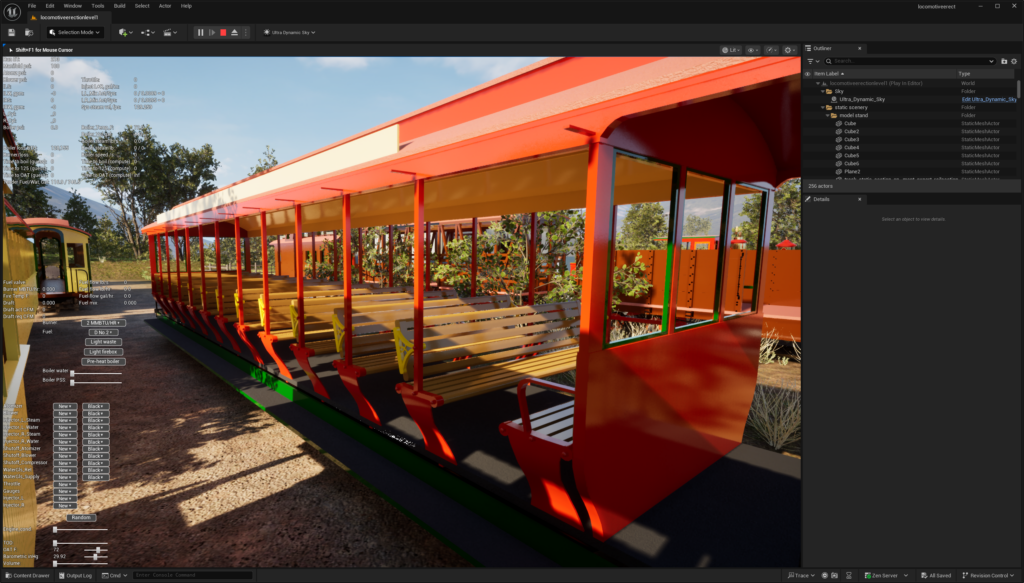
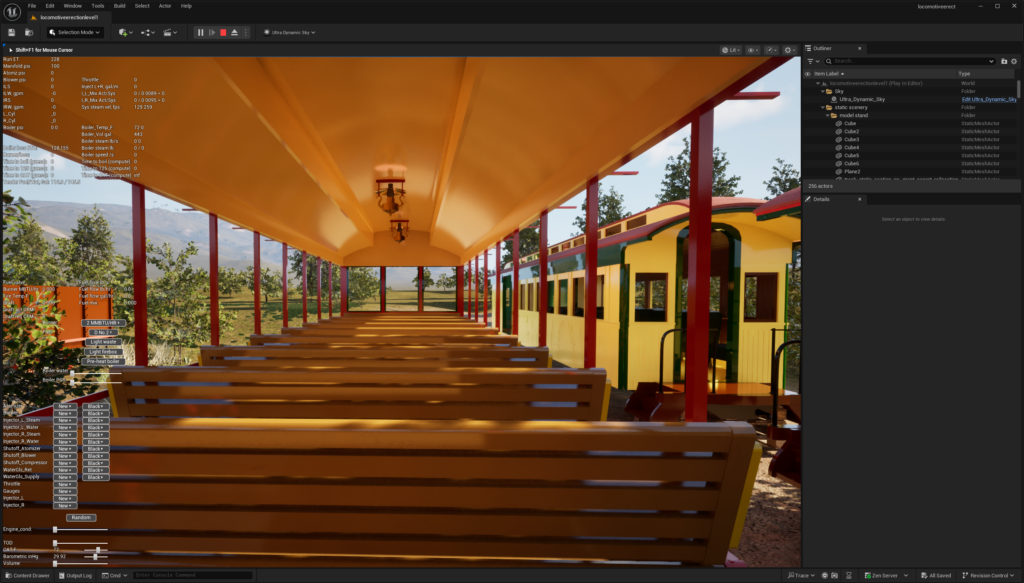
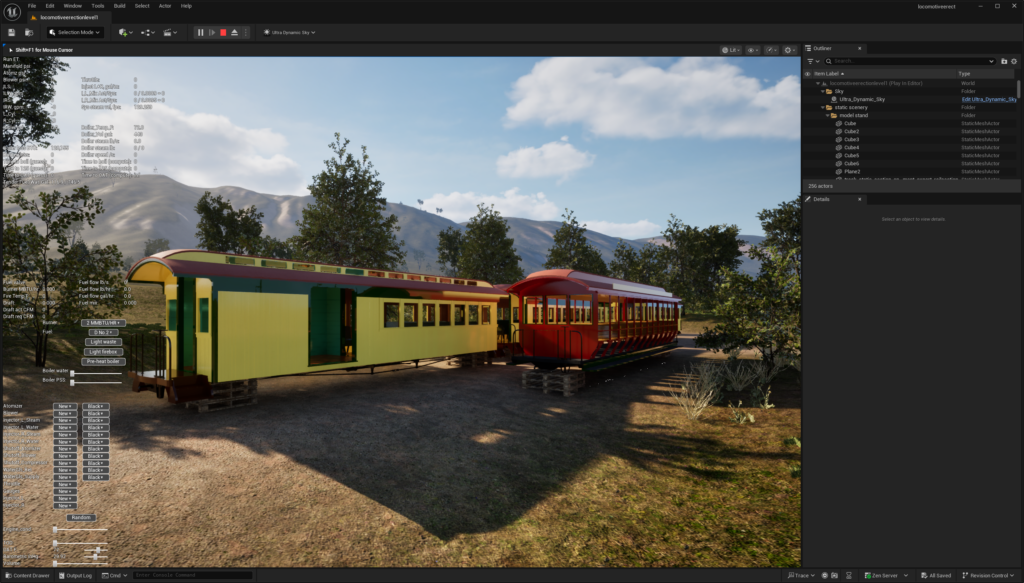
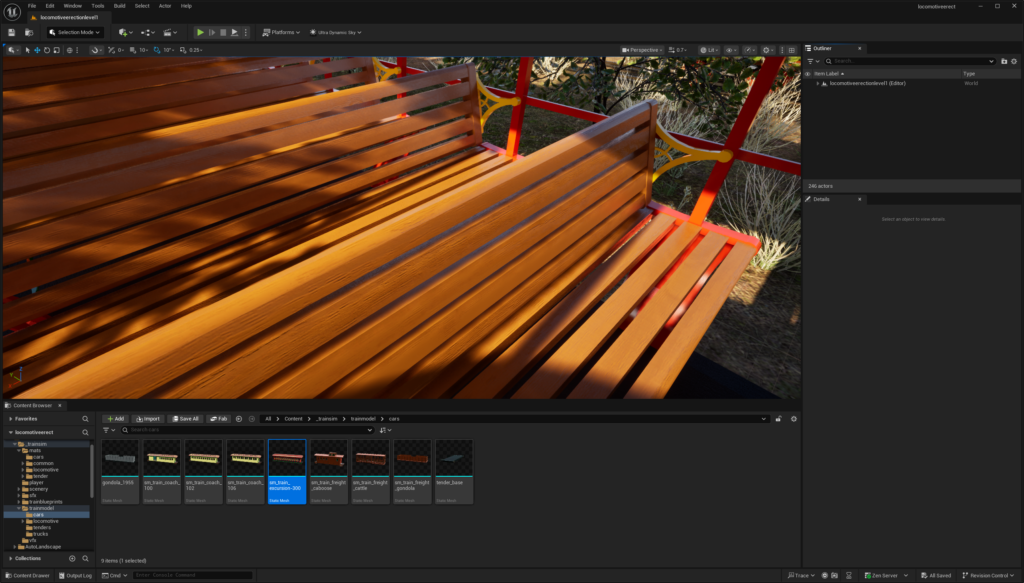
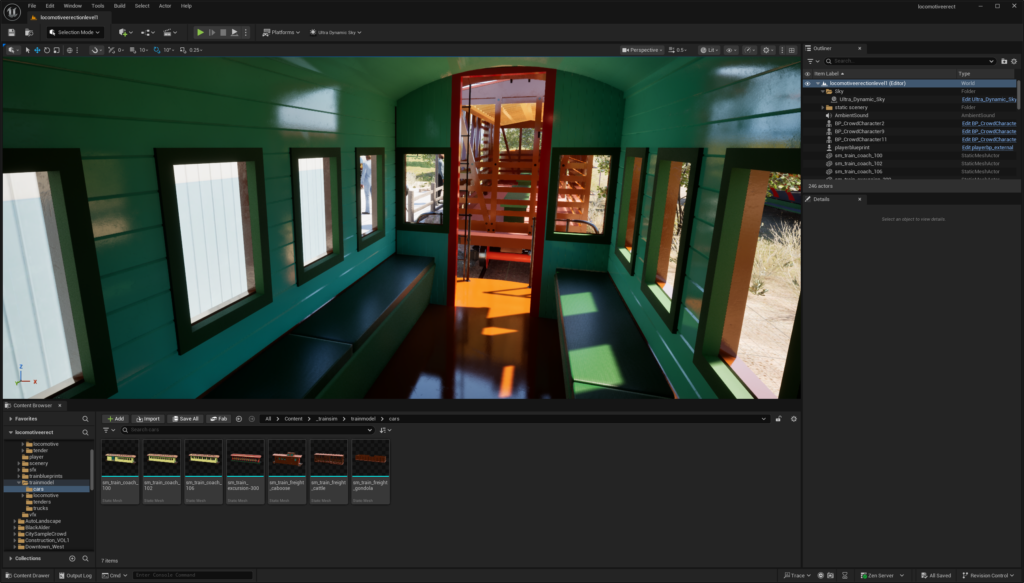
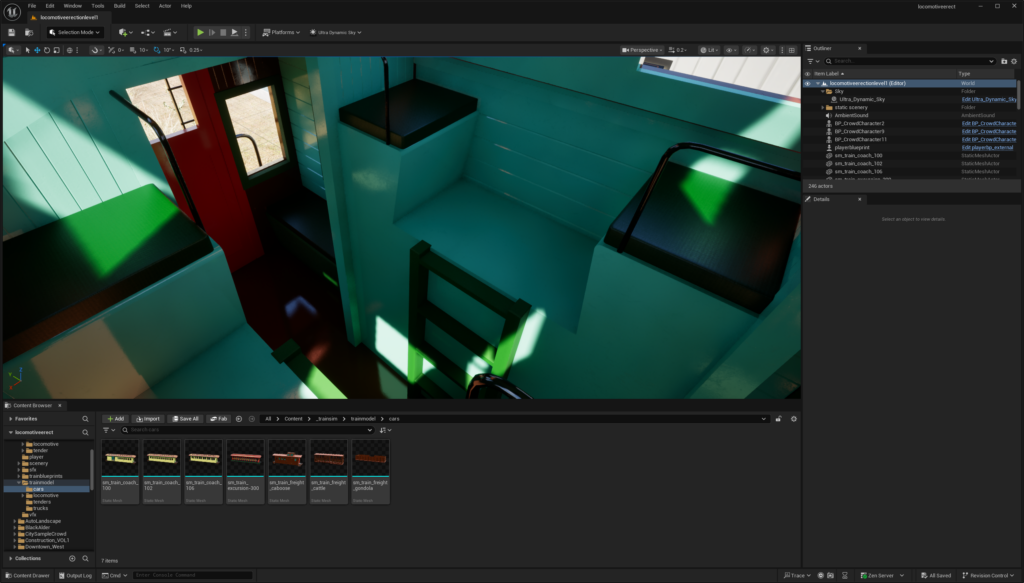
And some stills for your viewing:
(if you right click and select open image in a new tab you’ll get the full. I’m not sure why that’s required … )

Even if they’re very very slow 🙂
And some stills for your viewing:
(if you right click and select open image in a new tab you’ll get the full. I’m not sure why that’s required … )
Filed under CK Holliday build, Steam Engine Simulator
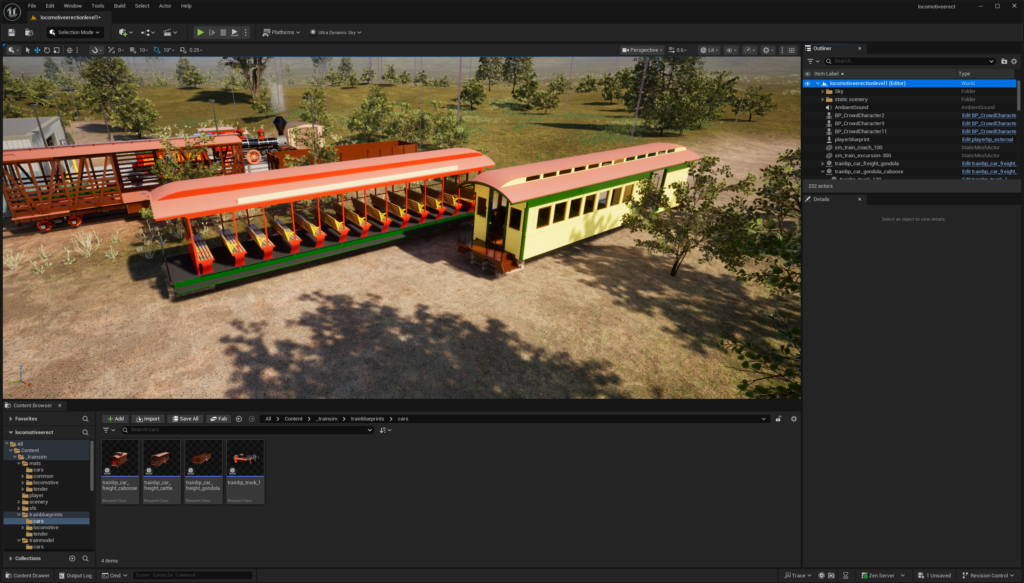
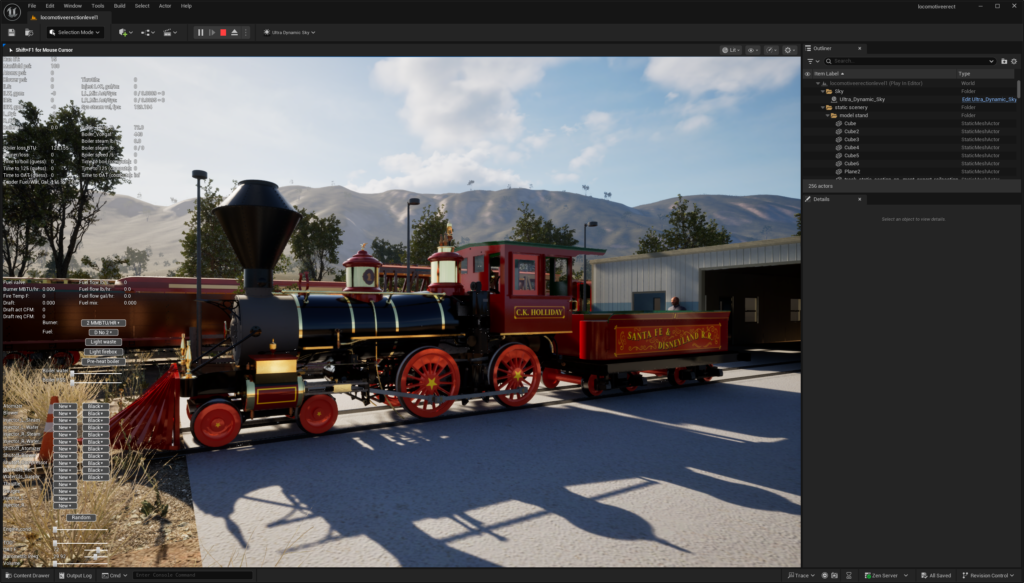
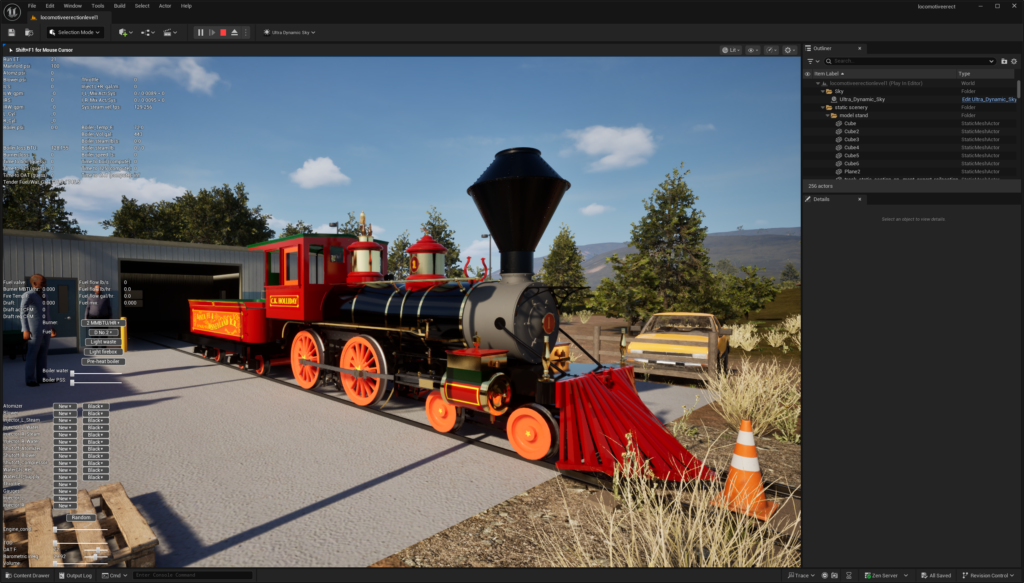
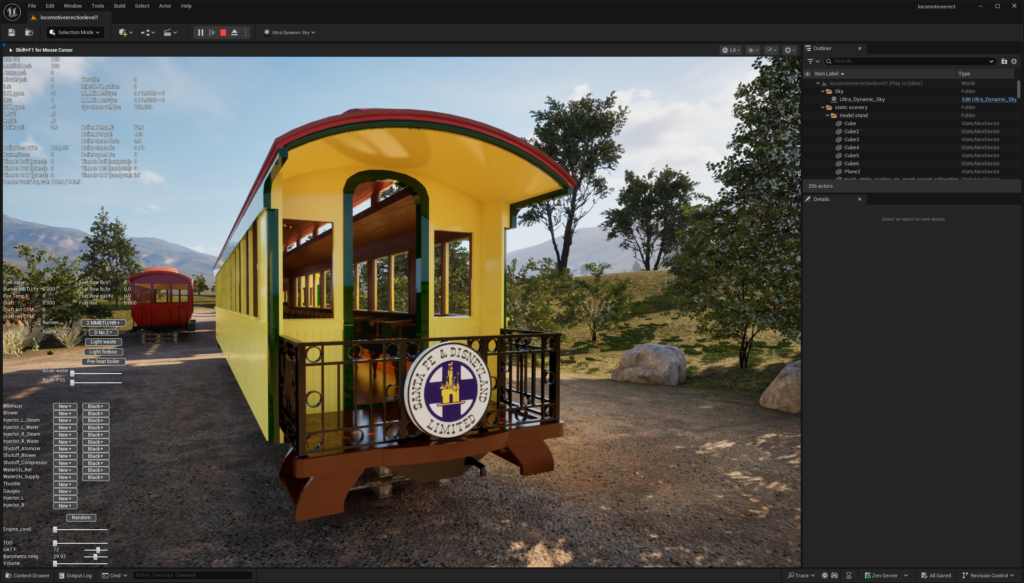
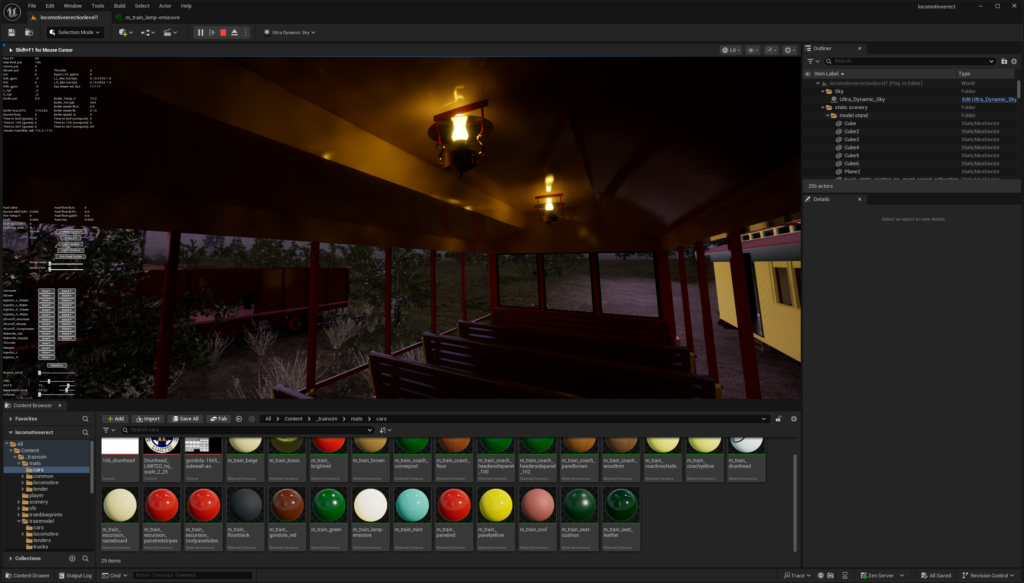
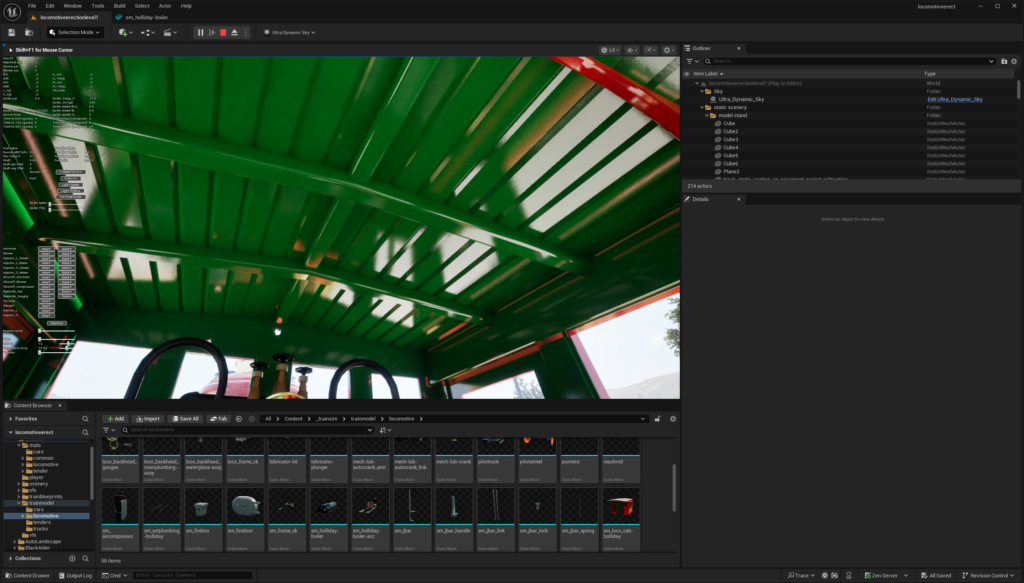
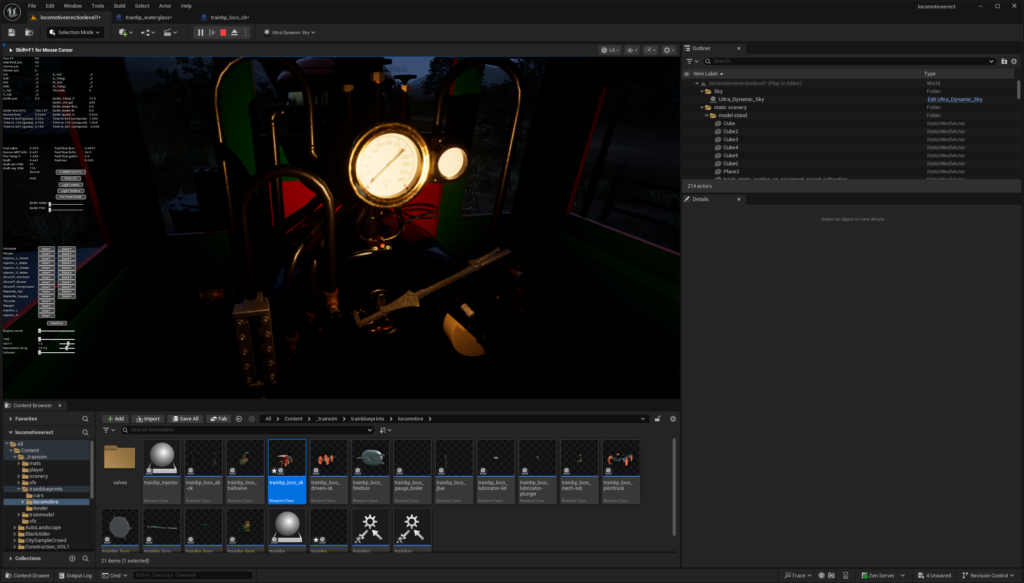
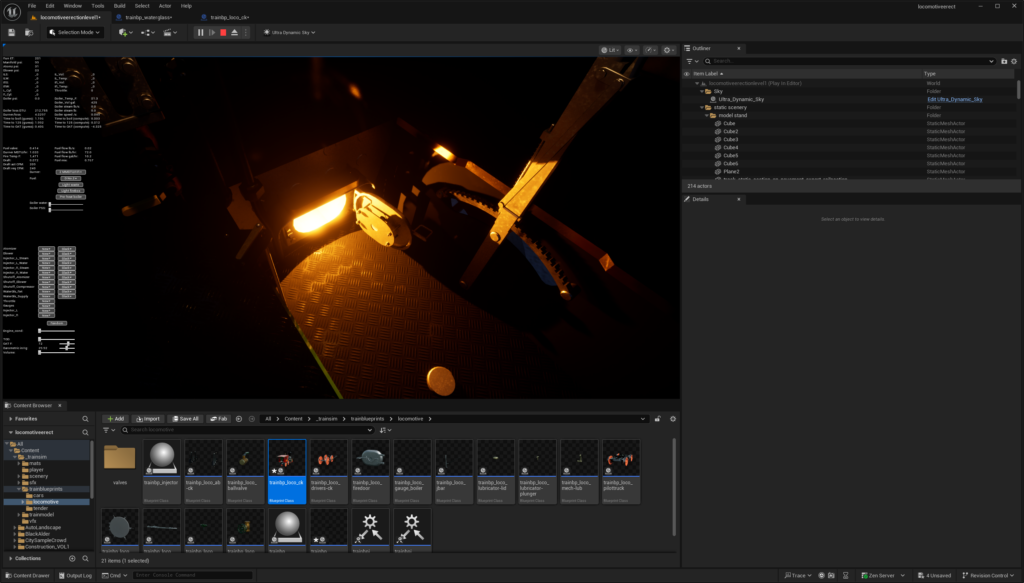
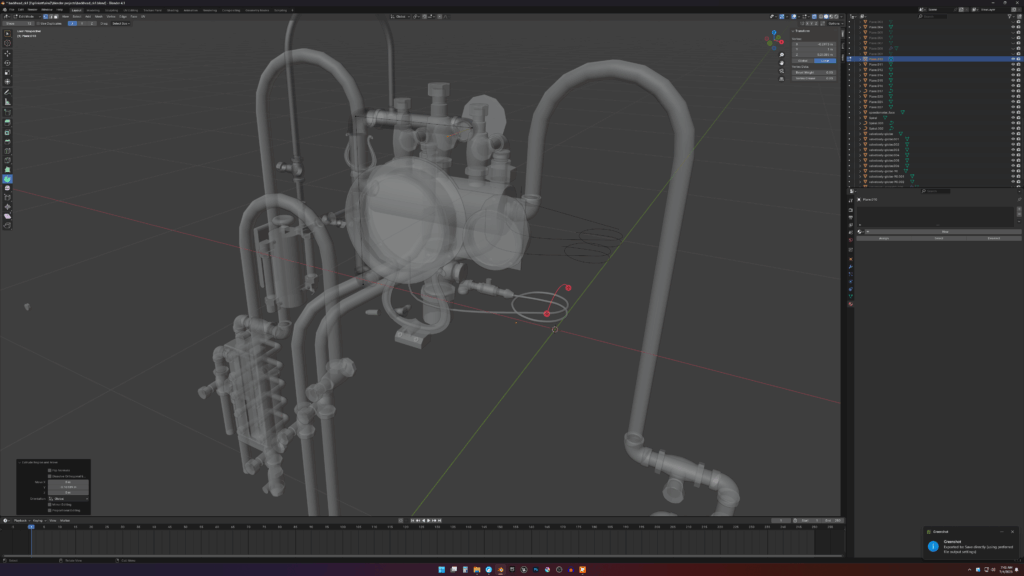
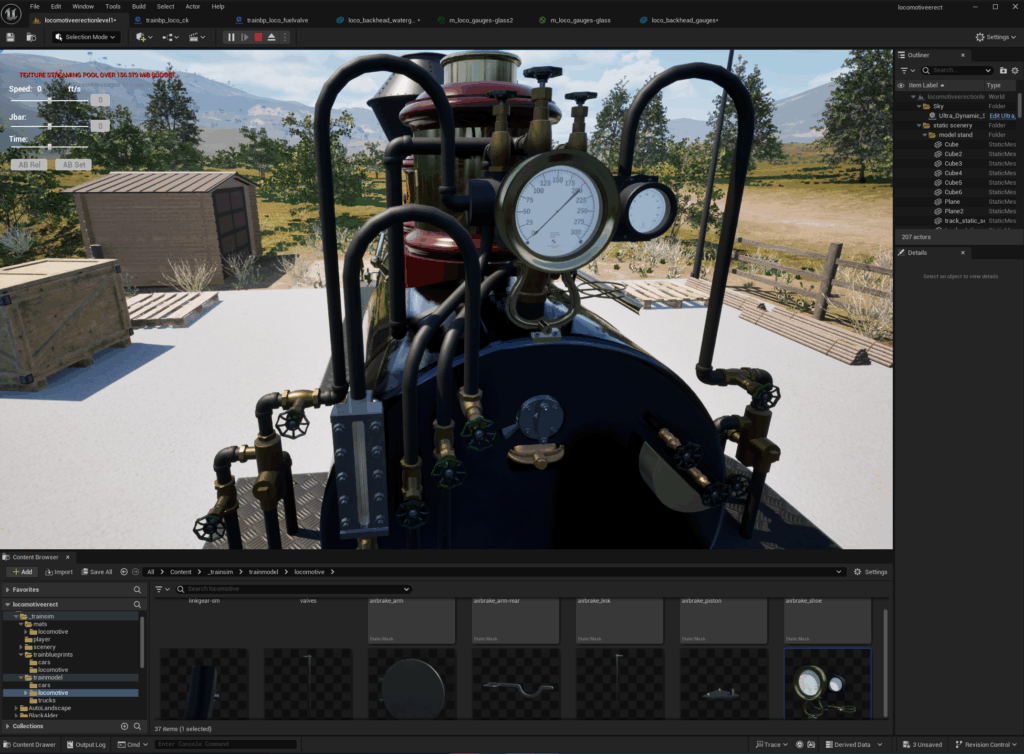
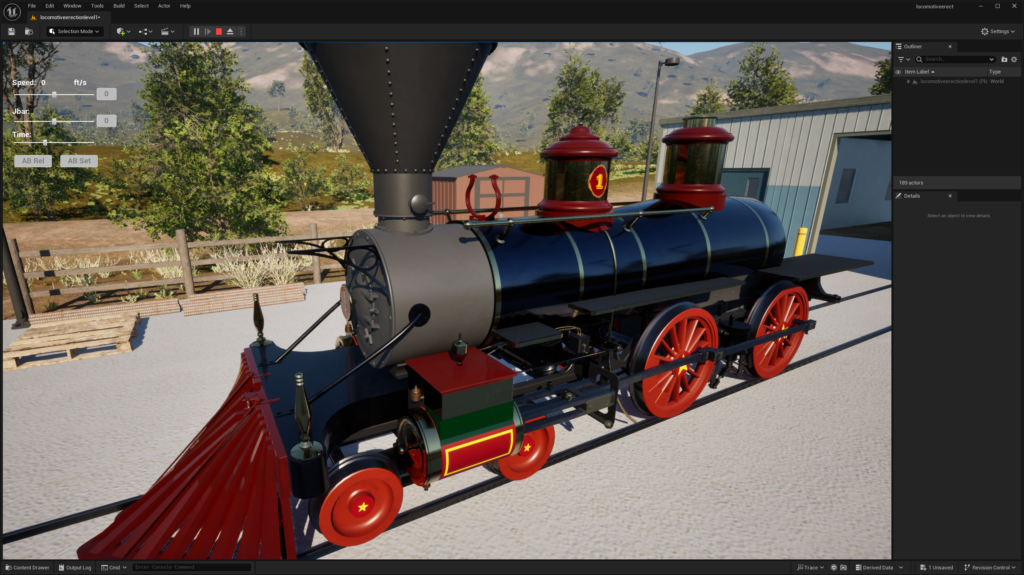
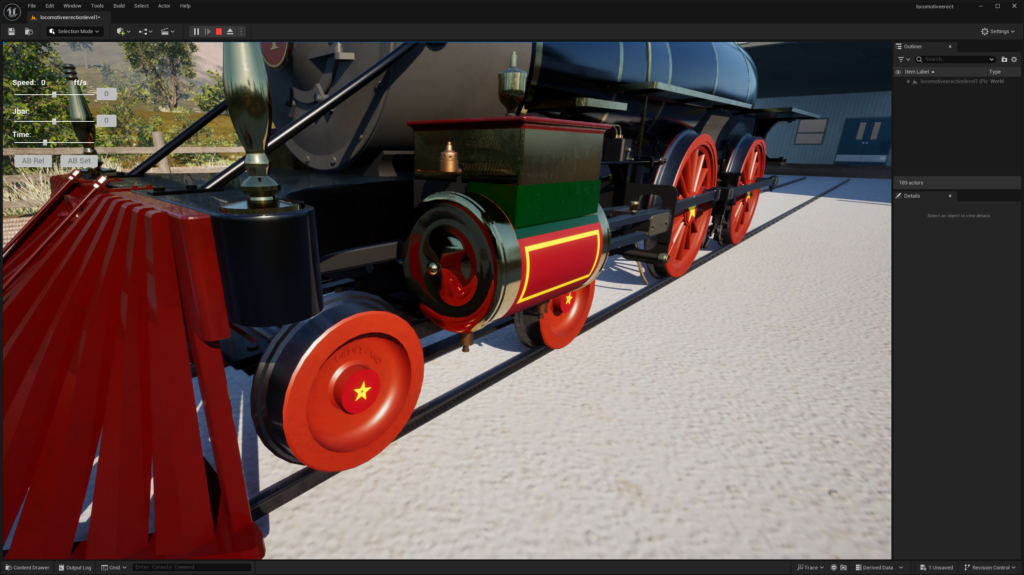
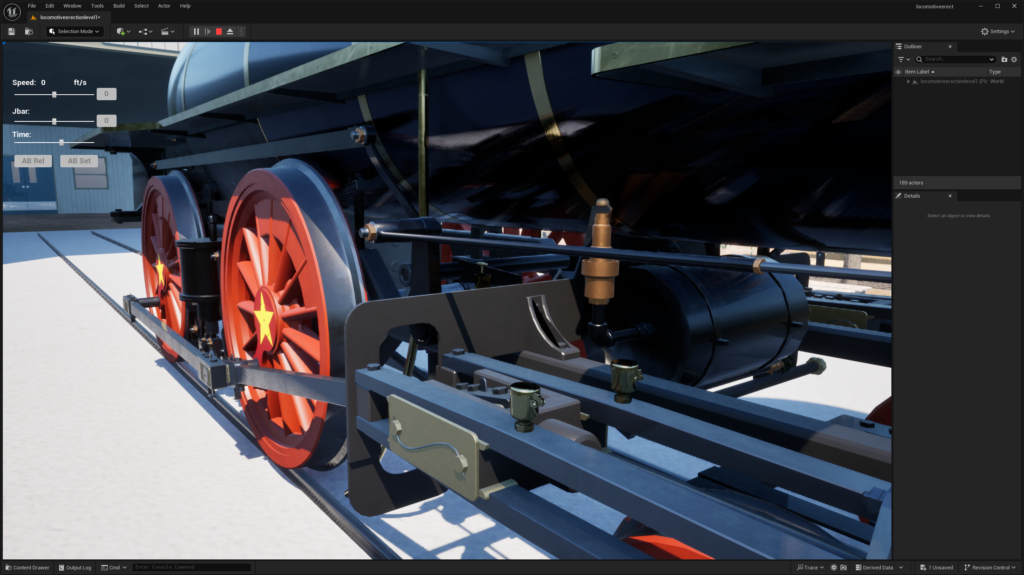
Some various, miscellaneous progress around different parts of the sim update…


Filed under Steam Engine Simulator
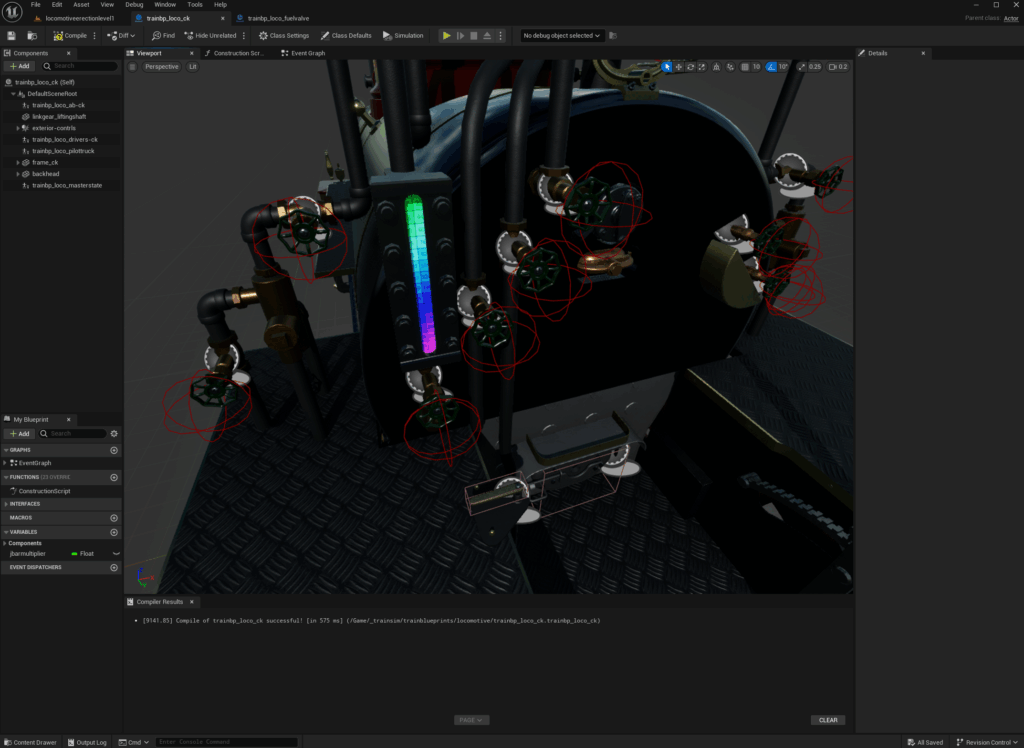
Here’s a part of why this takes so long…
Learning that you can’t use negative numbers in math expressions natively (without a work around).
When you just want to write a simple equation and it’s an error and you spend 10 minutes (multiply by 3 kids around the house = 1 hr).
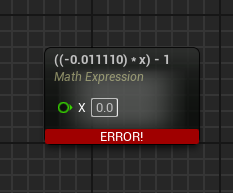
Source: https://forums.unrealengine.com/t/math-expression-negative-numbers/463634
Filed under Steam Engine Simulator
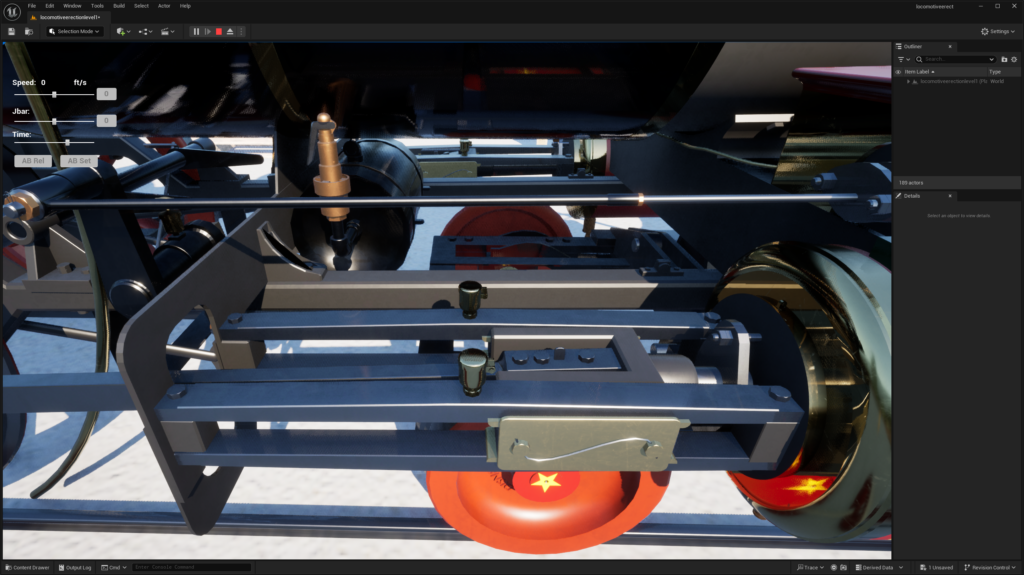
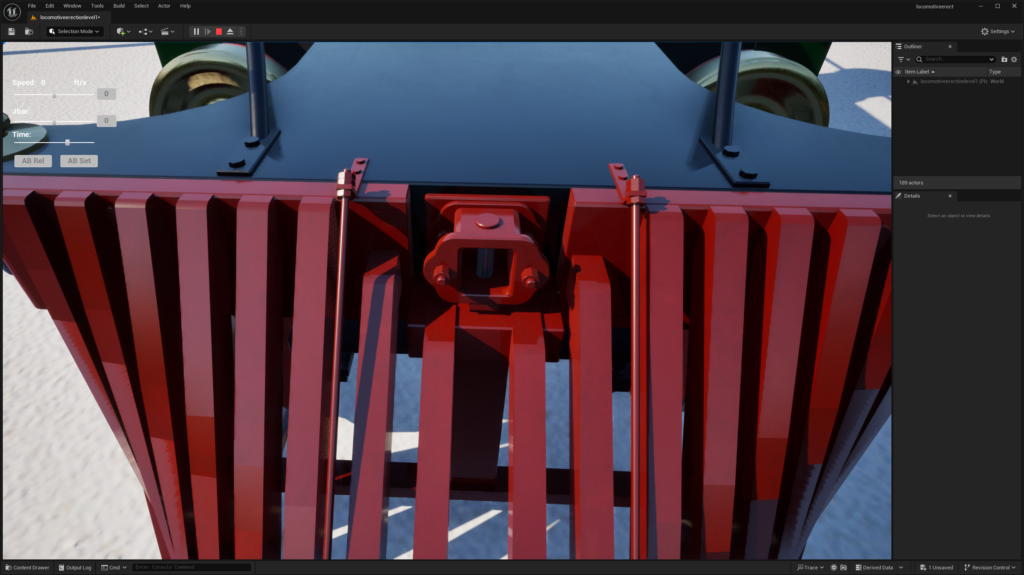
Not much to say about it, just some modeling progress…
Filed under Steam Engine Simulator
This is a first, but hopefully of many to come! Alex the Historian invited me to come along on his live stream of the Disneyland Railroad. We talked about the sim, DRR, and some progress on the new sim update!
Filed under Steam Engine Simulator
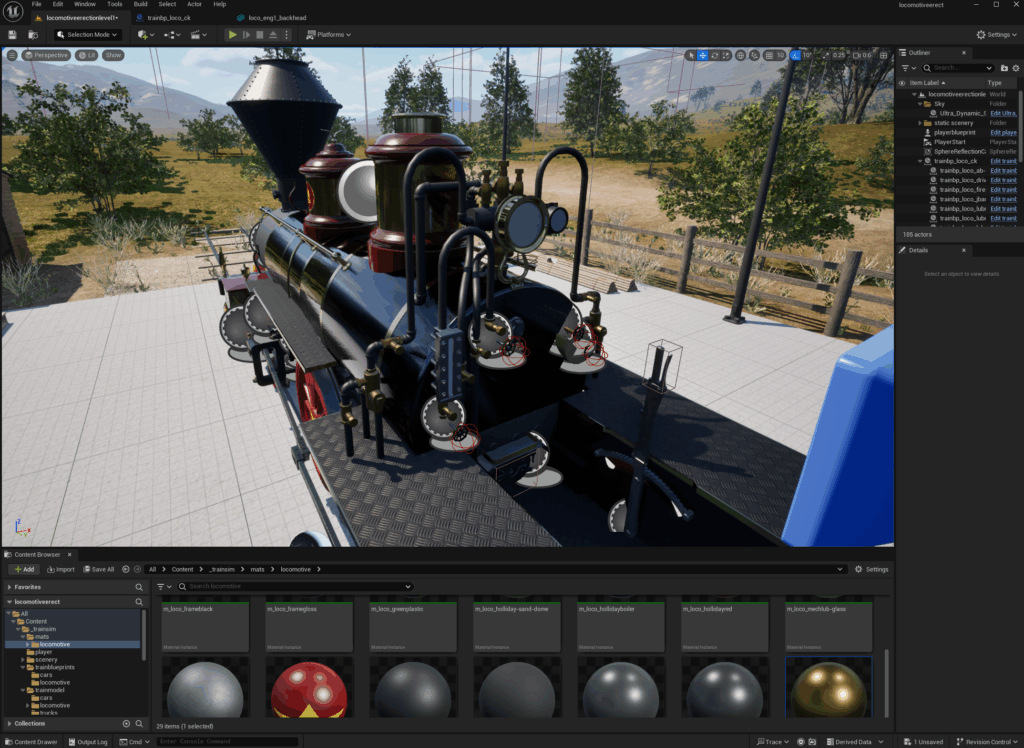
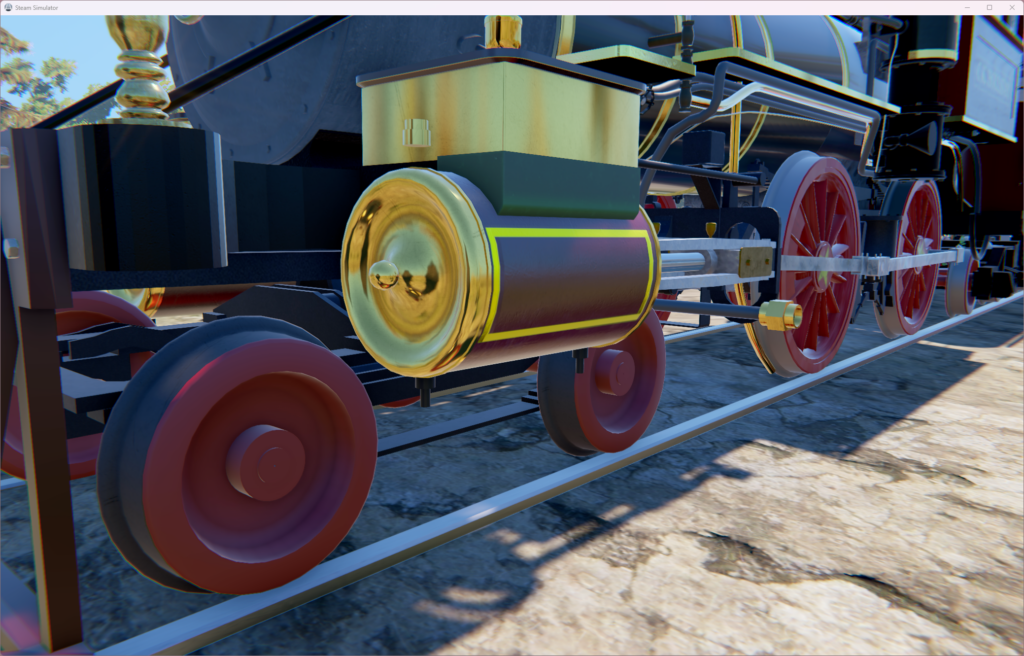
We’ve got a video, we’ve got a new video here!
See? Nobody cares.

But in case YOU do, check it out!
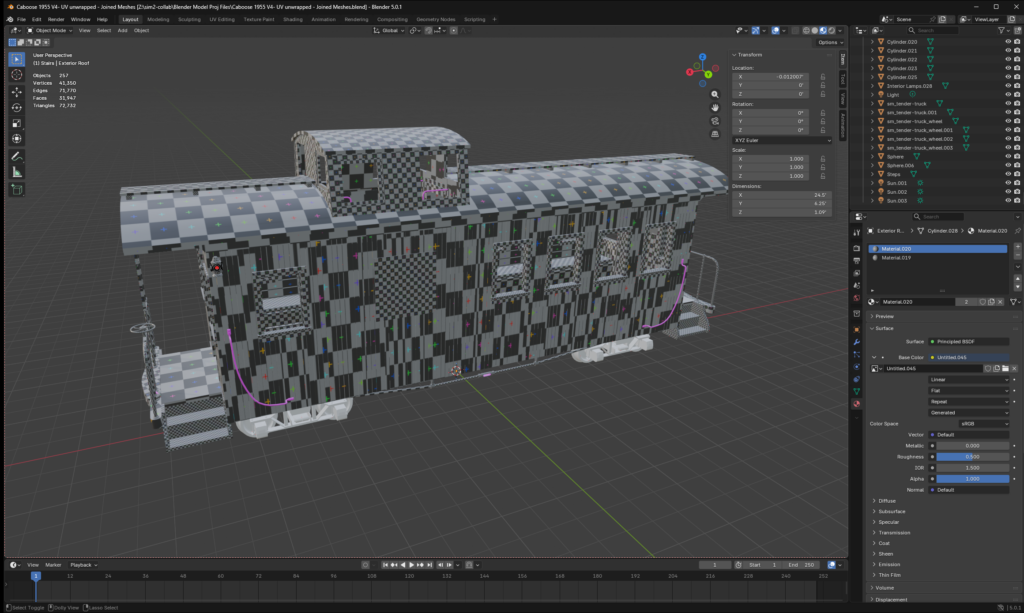
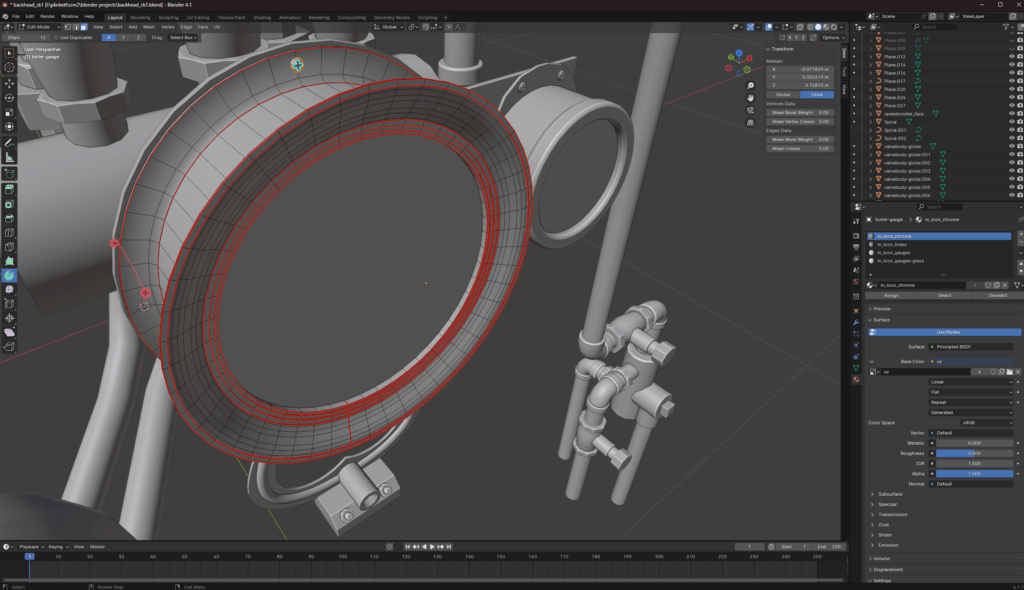
Let’s compare pictures also with the old model, which will make the improvements so very obvious. No further commentaries needed here, just steamy hot pictures.


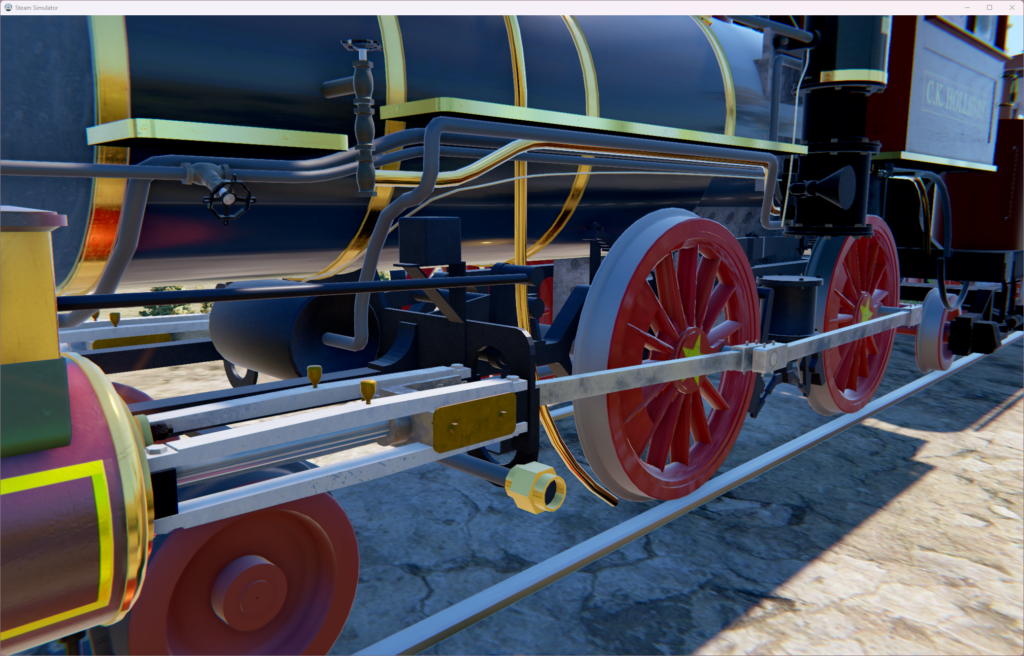

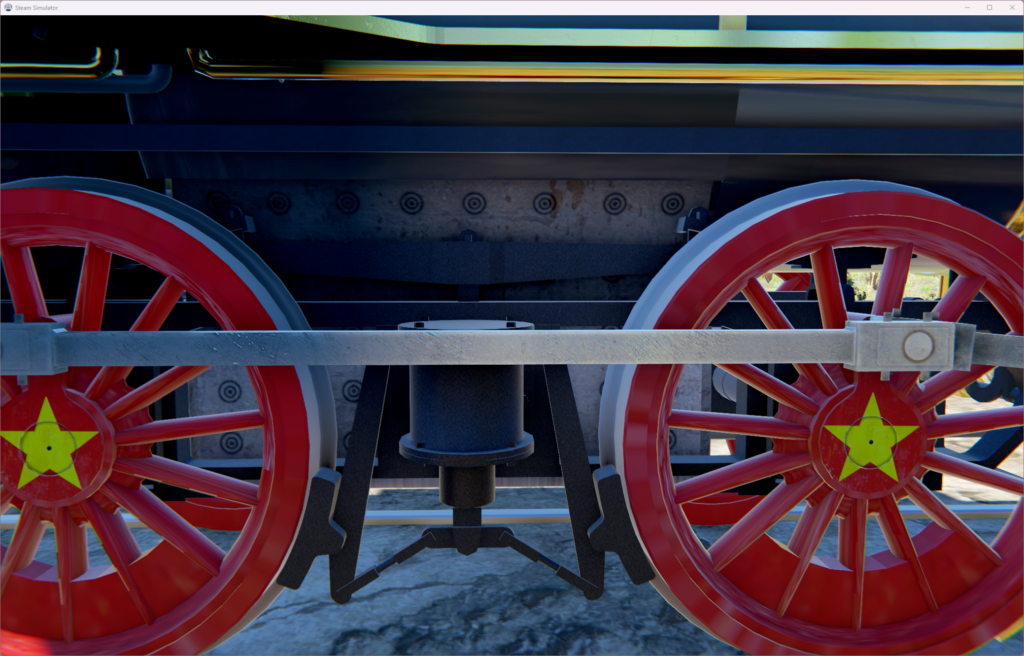


Now we’ll compare the meshes: Left side is new, right side is old. Despite the increase in modeling details, the mesh is much cleaner!


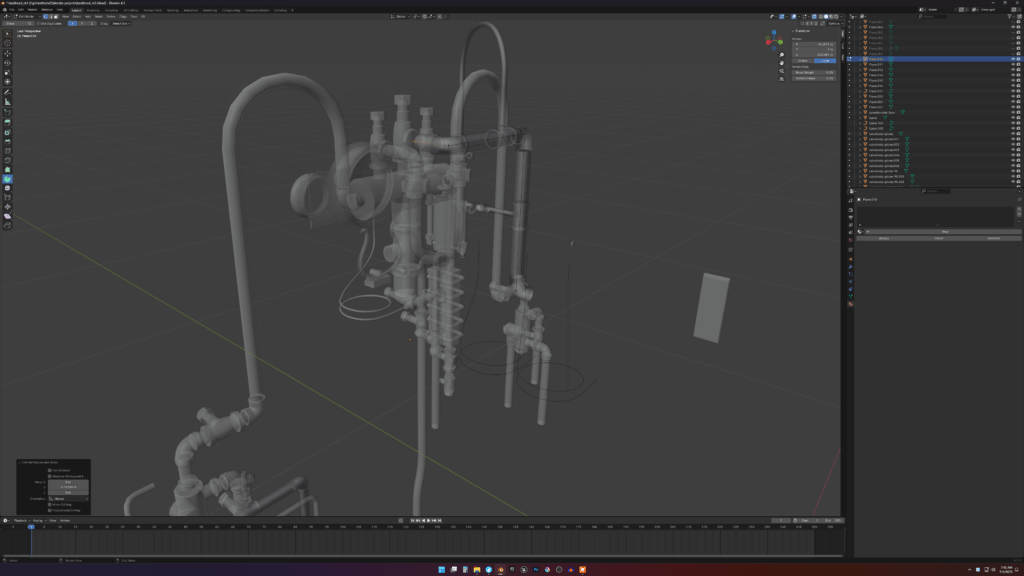
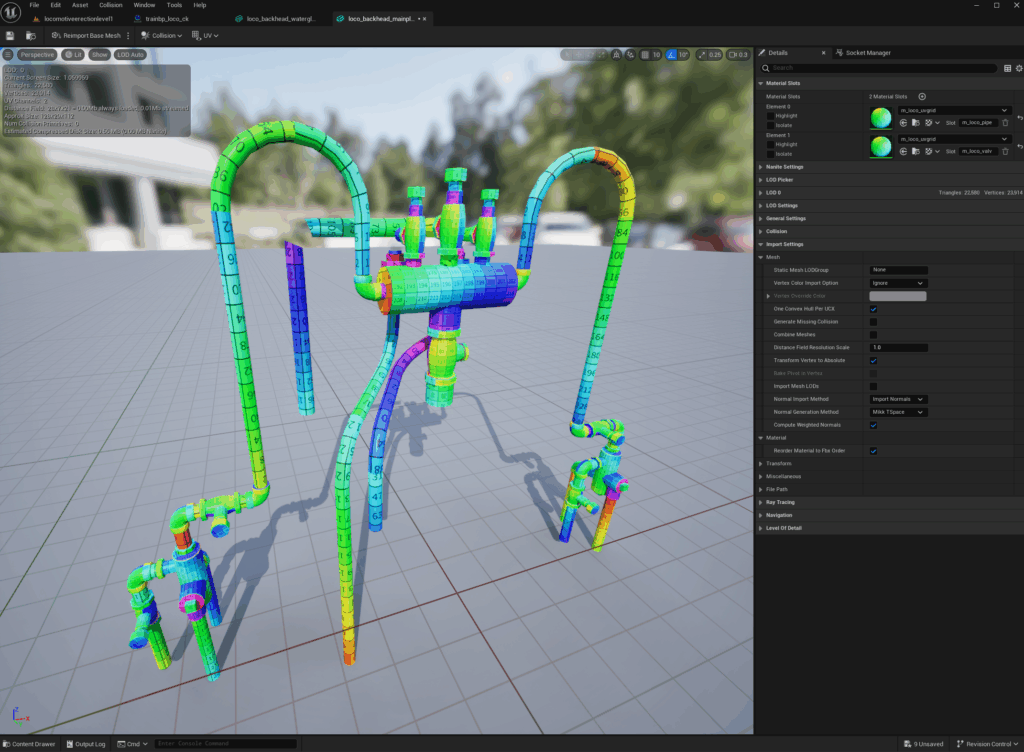
Next big items are the plumbing modeling, the backhead, the cab, and the coding of the firing dynamics, thermodynamics, physics, and plumbing/controls. Whew. But, I might take a break and finish the tender first.
Filed under CK Holliday build, Steam Engine Simulator
Here’s a small comparison between the old and the new model.
Below, the left (towards the front) is the old bell yoke, and the new one next to it is about to be finished. The difference in resolution and definition is obvious in the arms, but note also the small indentation in at the pivot, as well as the mounting bolts on the base of the yoke.
From all this, the new mesh also manages to be much cleaner than the old one still:

Filed under CK Holliday build, Steam Engine Simulator
Time for a quick post to just say that I am (and the current engine project) is still alive.
In this stage of the rebuild, the boiler is now being remodeled.
(To answer the incoming (and already asked) question: yes I did get the running gear to work! There’s QOL stuff I need to finish before showing it all off in a video.)


It doesn’t look like much but the model has a lot more definition. In the shot above, the old (v1) model is on the left, and the rebuild on the right.
And, in the shot below, the old one is also on the left and the new one on the right. On the smokebox front, where there is more detail, it’s obvious that the new model is just much “cleaner”, which will result in better detail and performance. The new model even have washers and pins on the smokebox door swing!

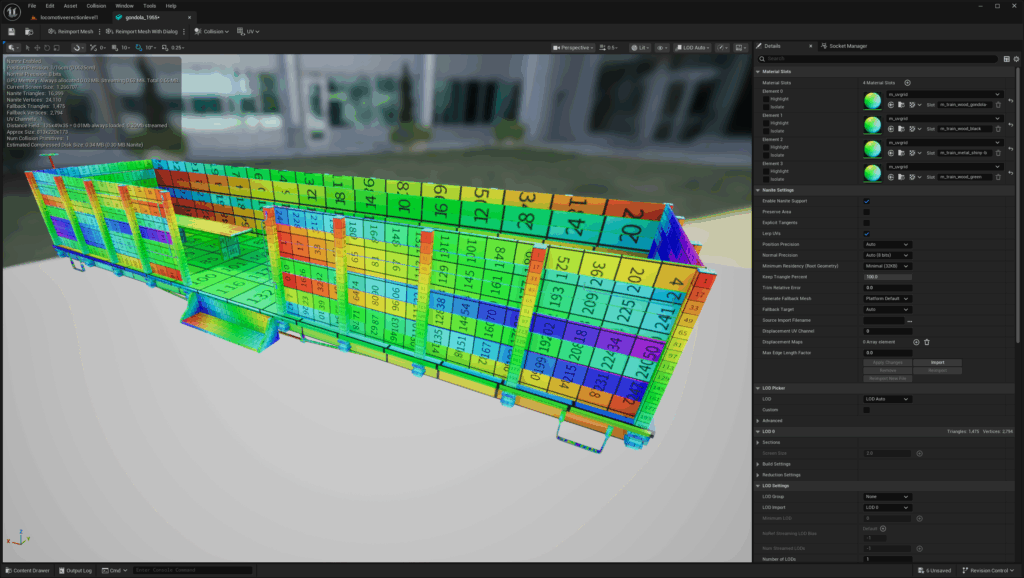
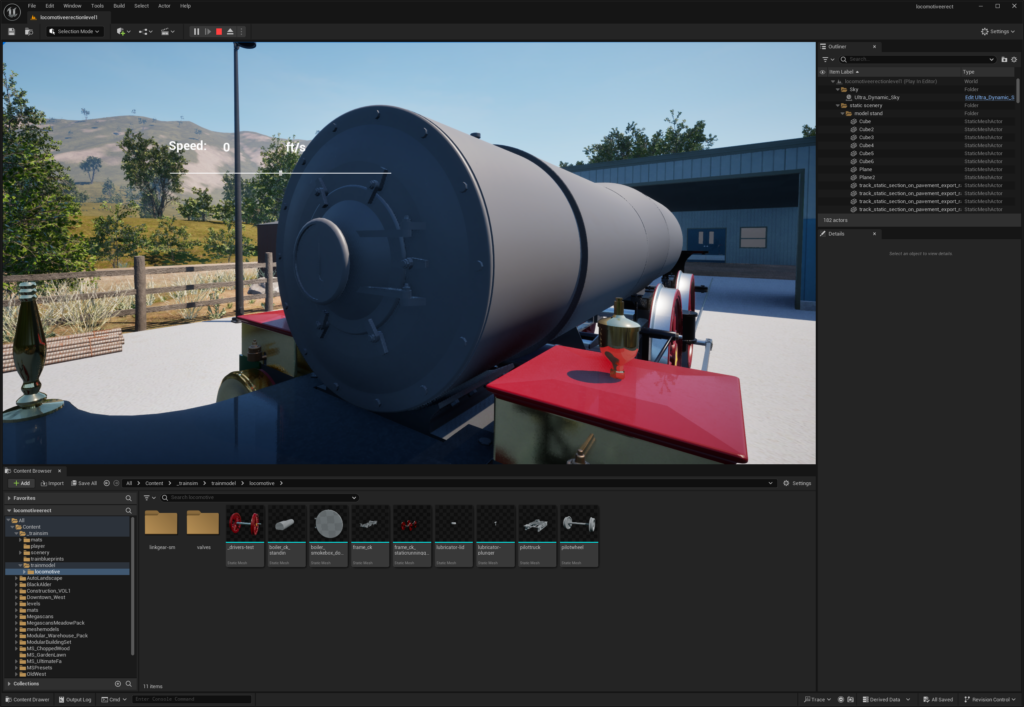
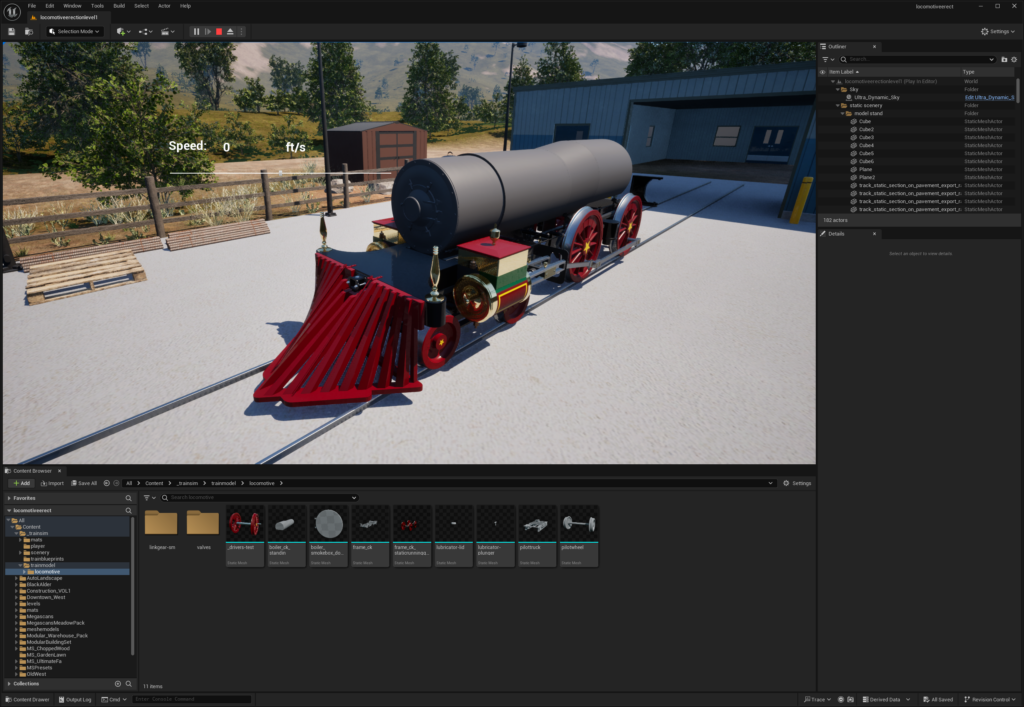
And here are some import tests into UE5. The model hasn’t been mapped/textured and there’s plenty of little details to add, but the “outline” of the boiler is there.

I’m contemplating whether the stay bolts on the firebox should be modeled or textured for this build. For reference, they’re textured in v1, which means they get blurry when you get close to them.
My goal is to finish refining the running gear and the boiler before the next video, so yes I have updates and features planned. It’s a long road but I think if and when finished it’s going to be a simulation unlike any others, even the current v1 DRR Sim!
Filed under CK Holliday build, Steam Engine Simulator
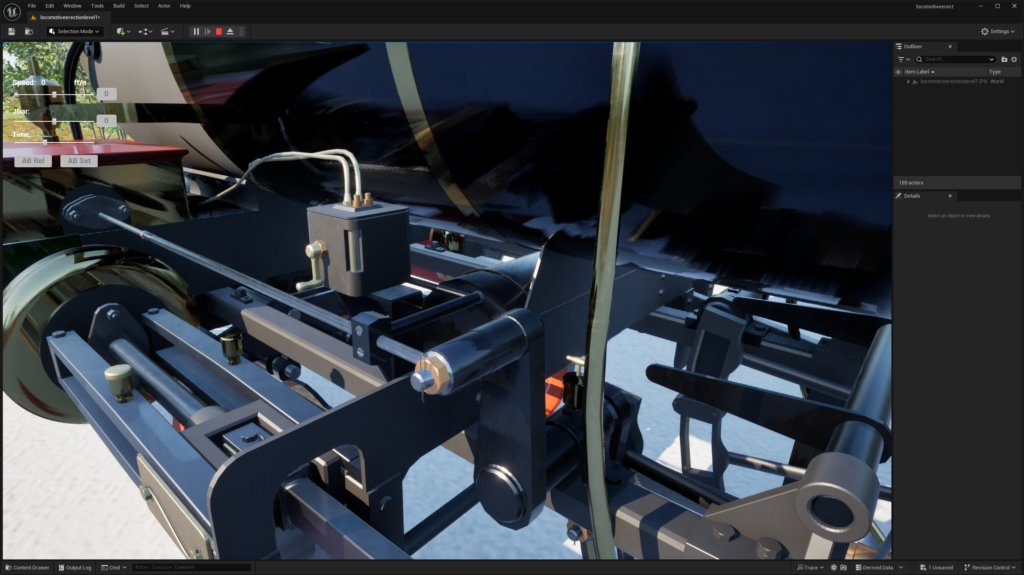
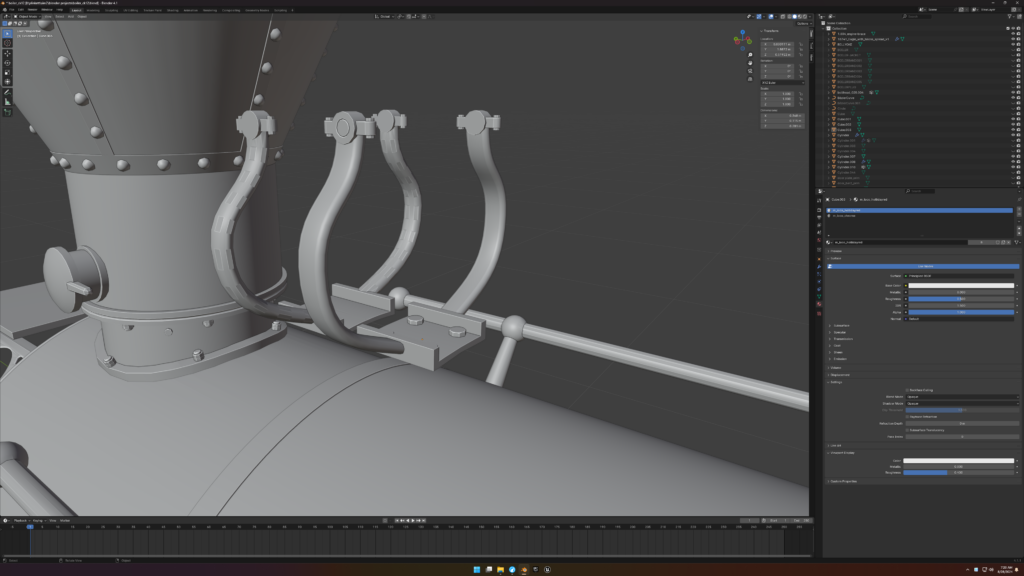
Let’s take a look at the progress (or the lack of progress) of the engine link and valve gear animation!
It looks great in Blender so far, until we get into UE5 and suddenly it’s a lot more complicated.
While I ramble about making this all work out “for the next version of the simulator”, don’t take this as any kind of announcement or hints. The “next version of the simulator” is still only a dream at this point, but sometimes dreams do come true!
Filed under CK Holliday build, Steam Engine Simulator