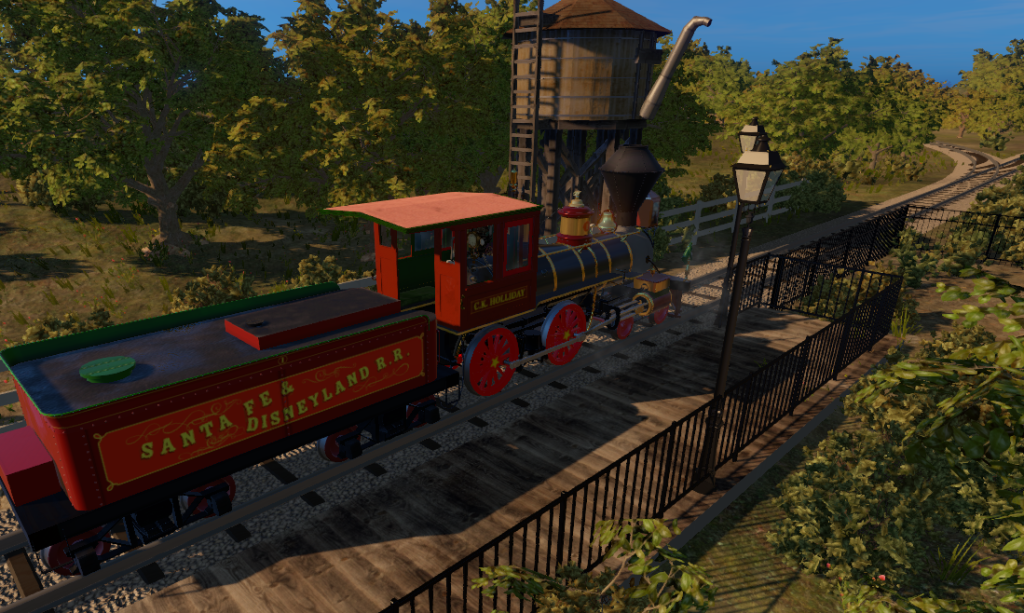
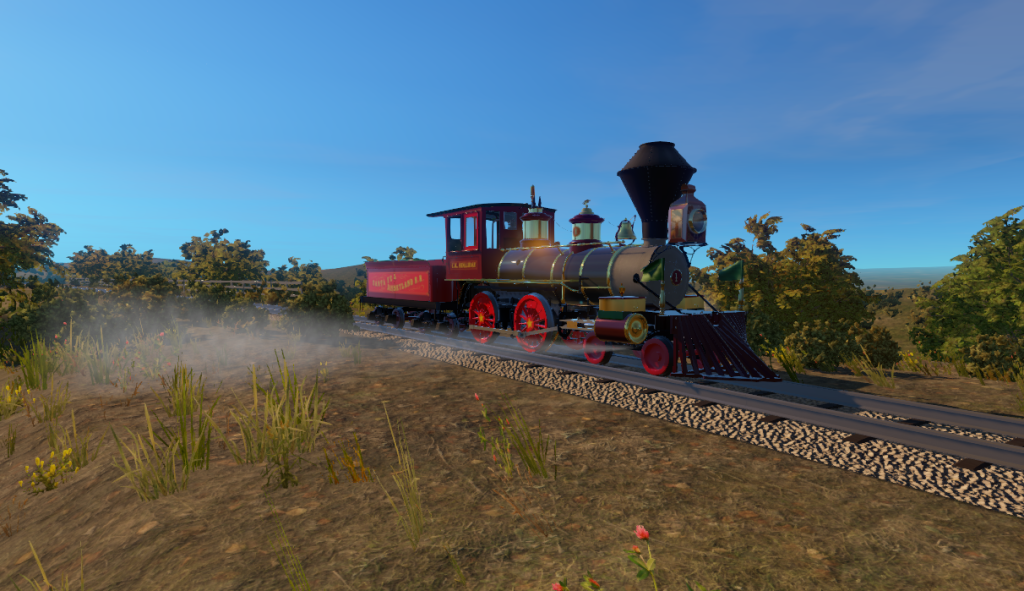
It’s been a while since I posted a proper, really meaty update, but now I finally have something to show and there’s going to be a lot of it! I spent the last few months purely on the graphical aspect of the sim. It’s fun to see the physics work, but putting these graphics in is really making the sim (slowly) come to life! Let’s see if you’ll agree!
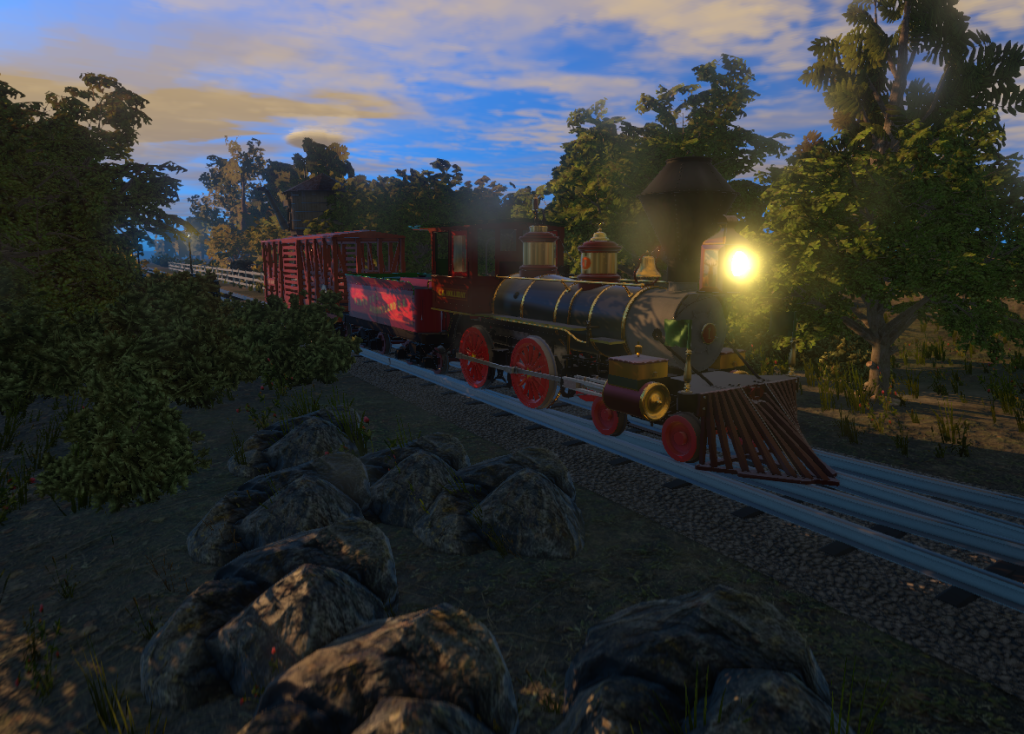
These pictures are directly from the sim. They are not renderings! This includes the outside scenery, which isn’t completely ready yet so it’ll be featured in a different update. But keep in mind that many of the features I want to show may be very subtle, so you’ll definitely have to click on the pictures to see the enlarged version. Also, when a picture gets resized smaller it will appear darker as it loses pixels, so I’ve only brought up the bright levels in these pictures to compensate, otherwise these are raw sim images!
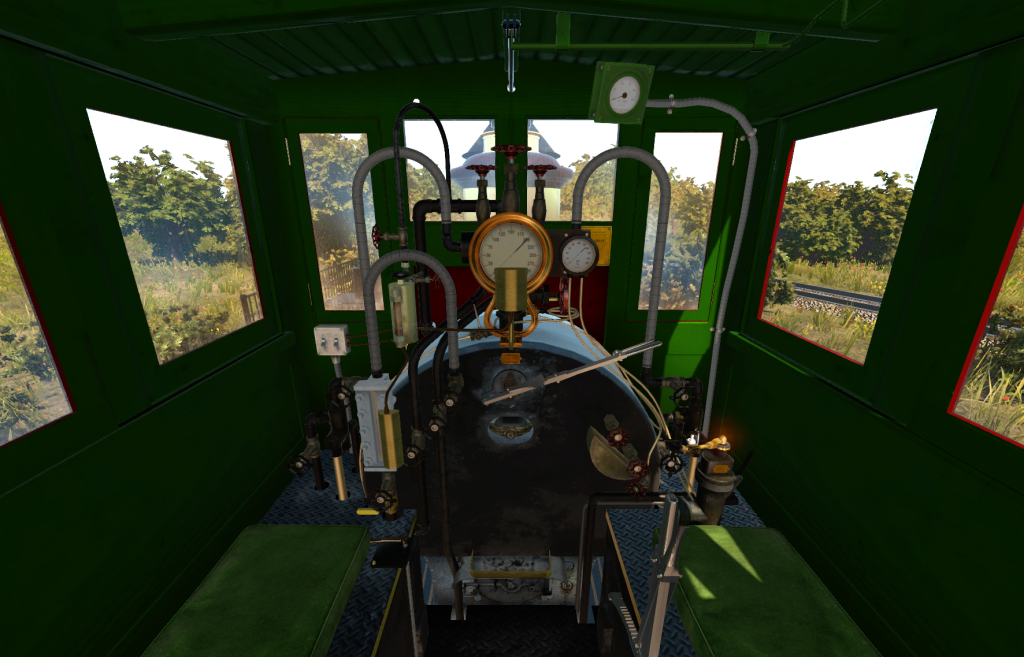
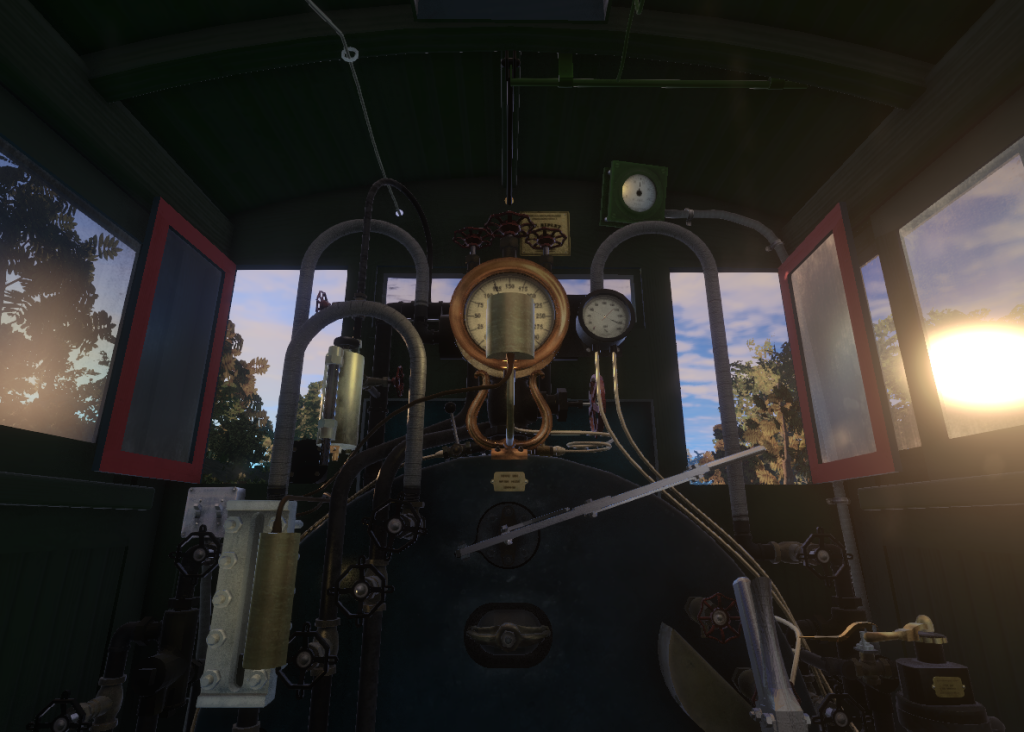
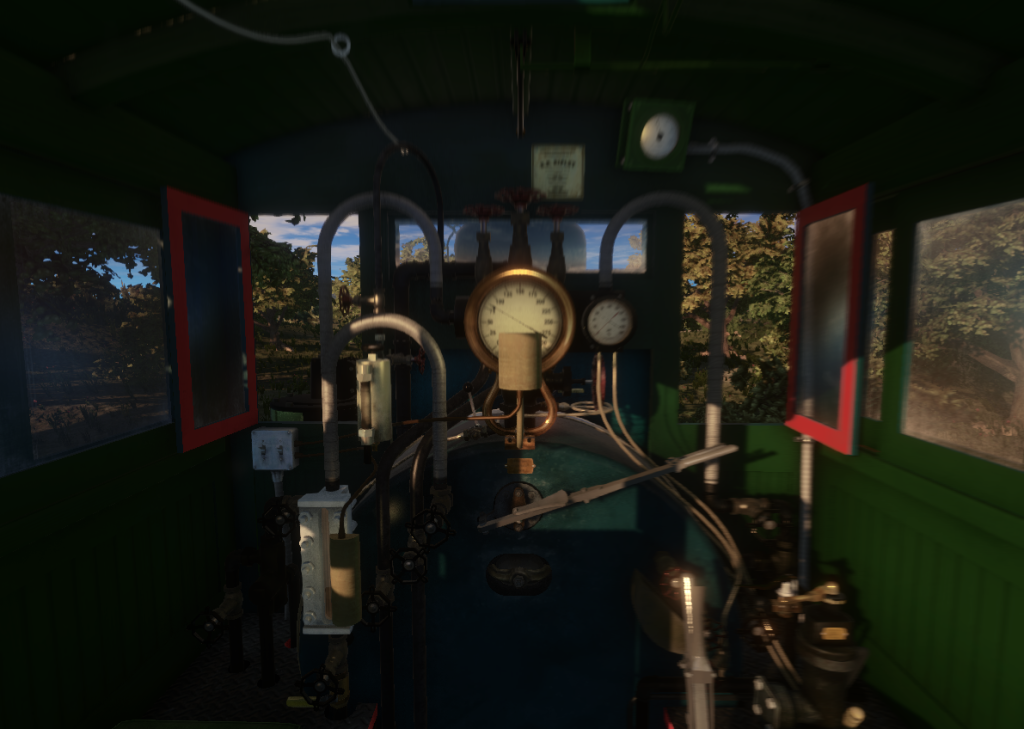
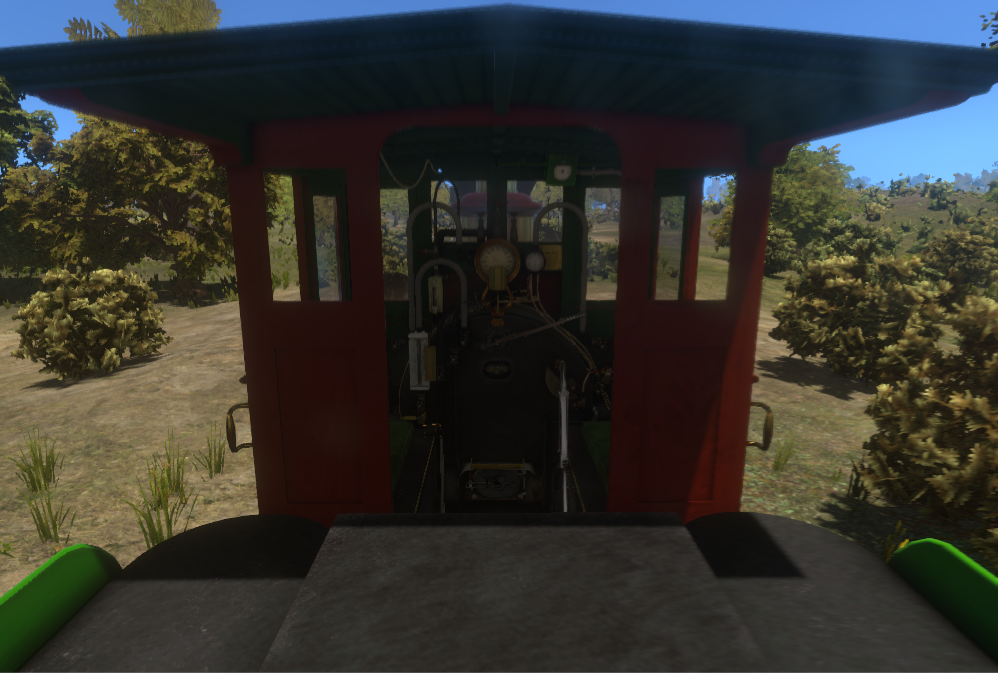
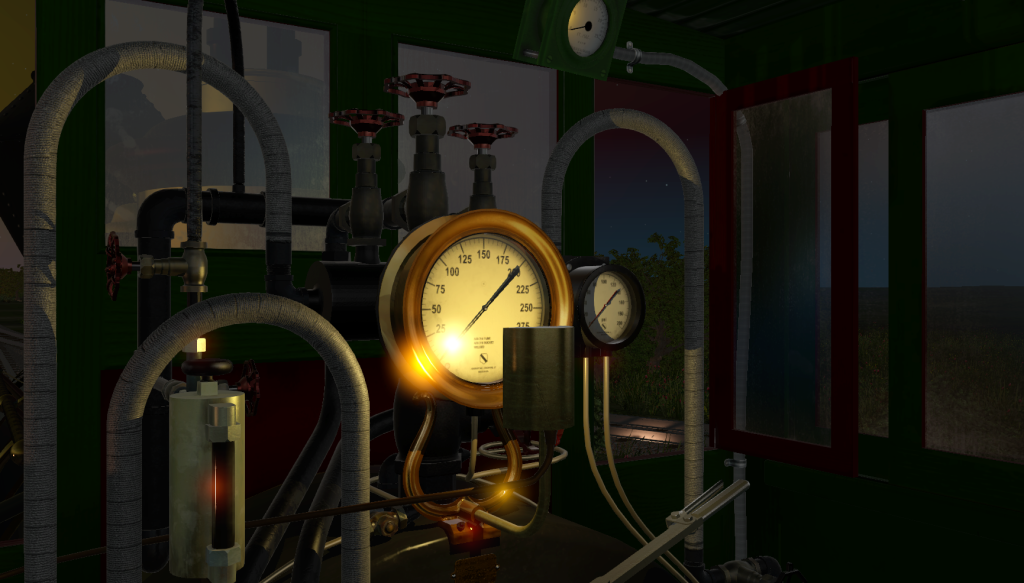
Let’s start with the main view, above. Here’s your new office: the engine’s cab! In here, every valve, lever, and switch have distinct function that affect the performance or behavior of the engine. And they’re all represented here in the sim. Everything works. Even the gauge lamps will draw an appropriate amount of current from the battery… and eventually drain it if the generator isn’t running. And all these controls may look daunting but soon enough you’ll learn what every valve wheel in the cab does, and where each pipe start and end. (The cab today has even more valves and pipes though, due to numerous modifications through many years). I’m sure once you’re familiar with the sim, you’ll be able to talk like you’re part of the crew on your next tender ride.
Now, let’s take the left seat… the fireman’s side:
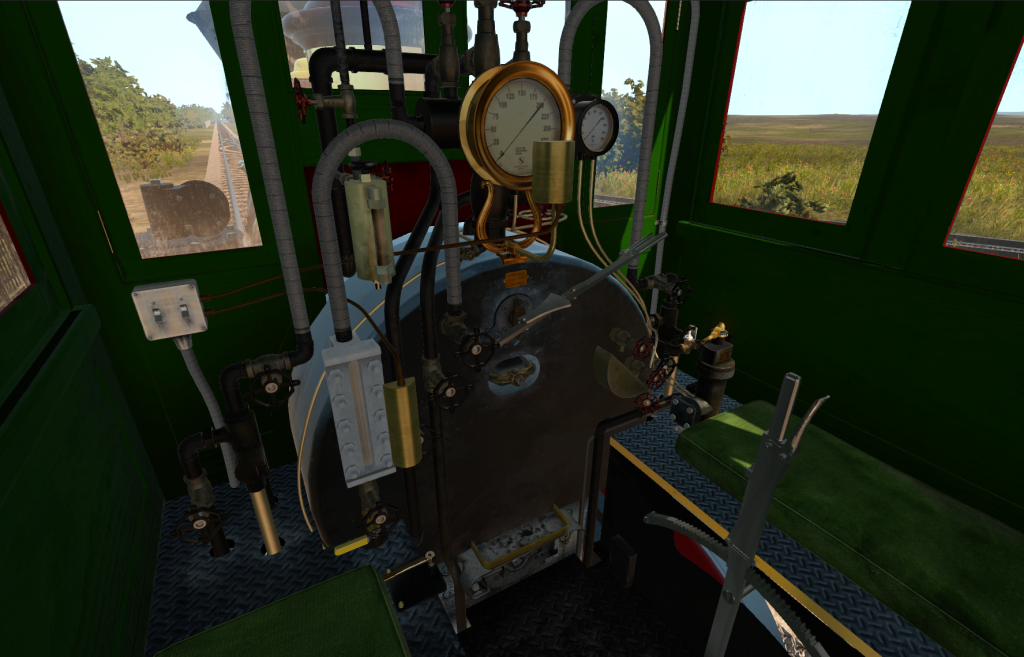
This is a hard working machine! She’ll be out of the roundhouse for up to 20 hours on some days, and it shows here! Every surface has distinct wear and tear on it. If it’s a bright work, it’ll have received some dulling from constant contact with heat and oil, as well as repeated wiping. In the picture above, you can see the dirt and water stains that the forward windows have picked up.
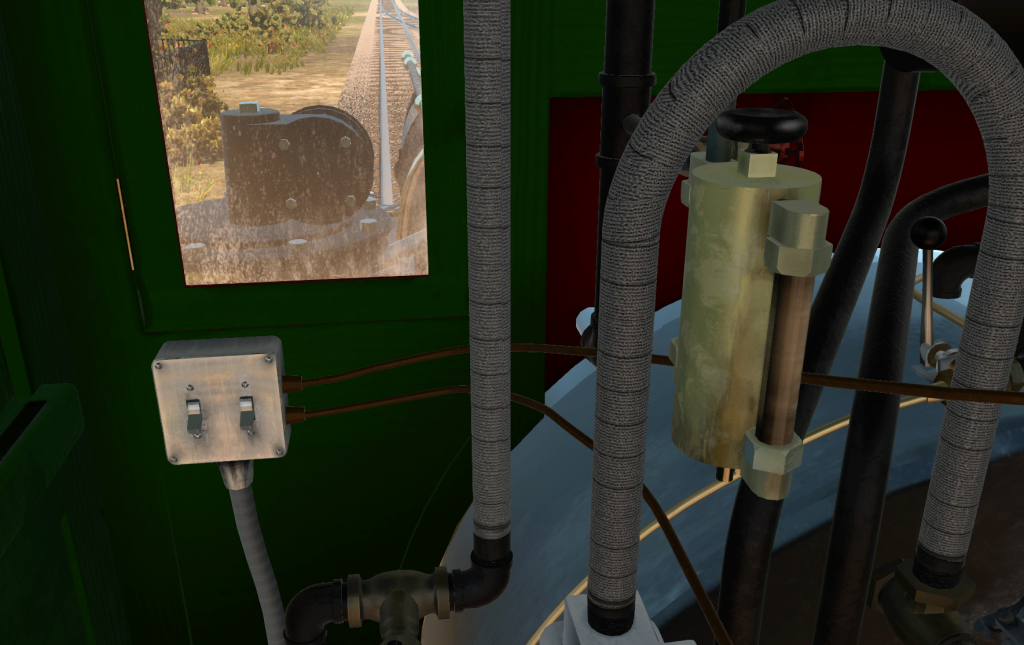
Now let’s get even closer: the hydrostatic lubricator has traces of oil and fingerprints. The oil glass is almost opaque from the thick oil inside. The steam pipes here get a covering of fabric material to protect the crew because they get really hot. You wouldn’t want your arm to graze it when reaching for the blowdown valve!
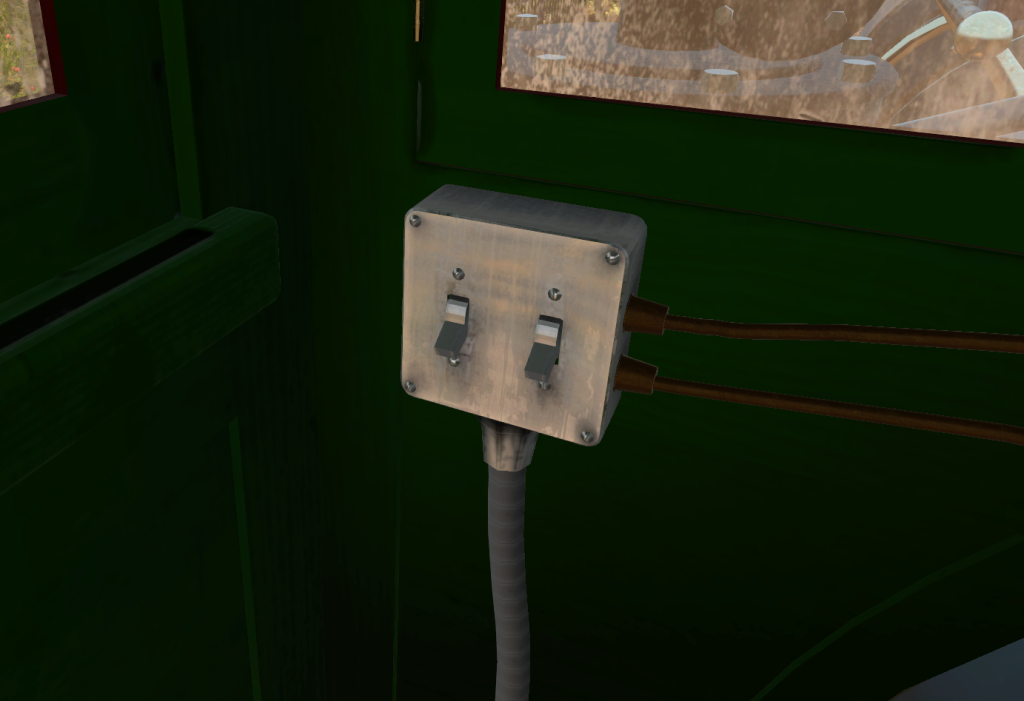
The electrical duplex box still has a little bit of shine on it, but repeated wiping and contact with grease is taking its toil on the stainless steel finish.
Down below by your feet is the fire door, which is fully operable in the sim with a locking latch/handle. Here is where the hardware is exposed to the greatest amount of heat, so the metal around it has lost their luster and finish a long time ago. We can see the burns that have formed on the inside of the door as well as rust forming around the opening. The concentric circles around the door are the head of the boiler stay bolts. (What are stay bolts? I talked about them previously here and here. These two posts also give you a great section view to see how the stay bolts work).
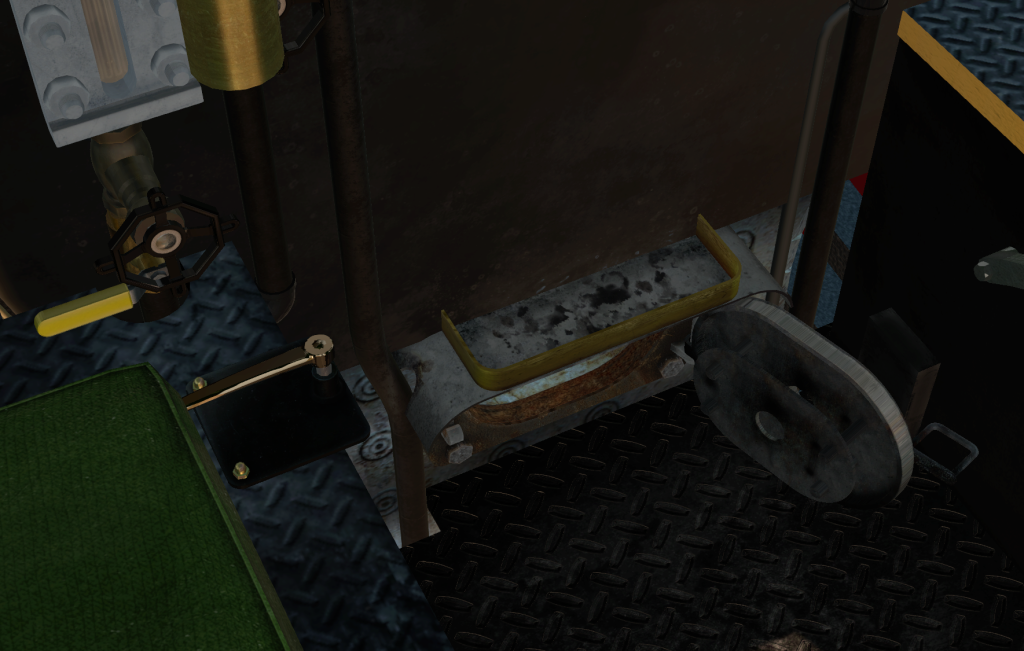
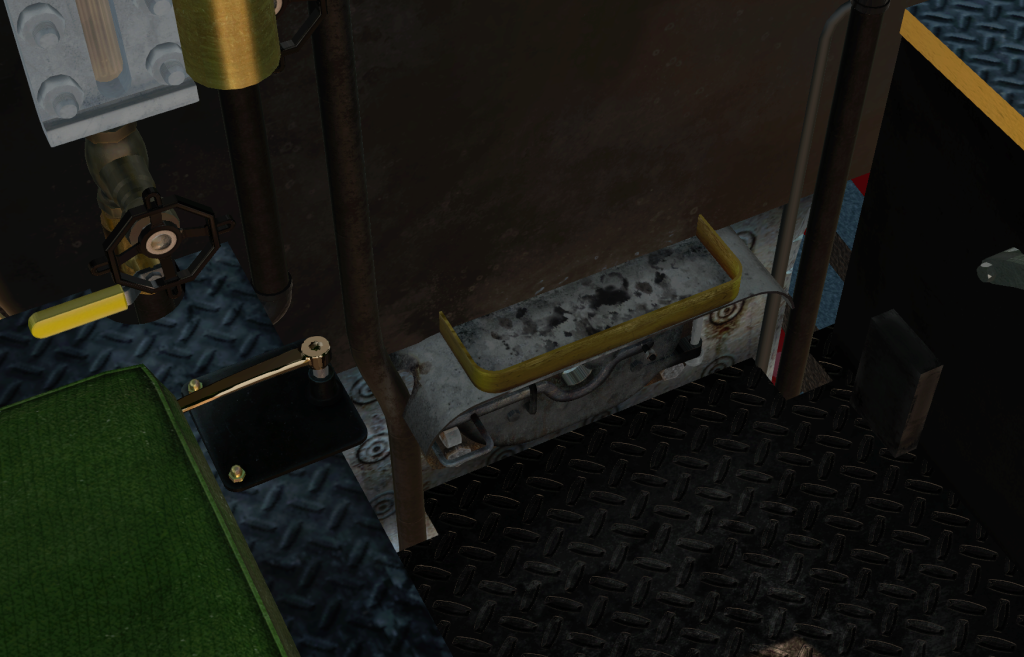
Right above the fire door is an oil shelve… where you see all the oil stain build ups. The crew put their lubrication oil here on this shelve because the oil is too thick to flow freely at room temperature.
The running boards, which become the seating platform for the crew has also dulled out from use. You can see little bits of grime and dirty oil build ups near the raised pattern.
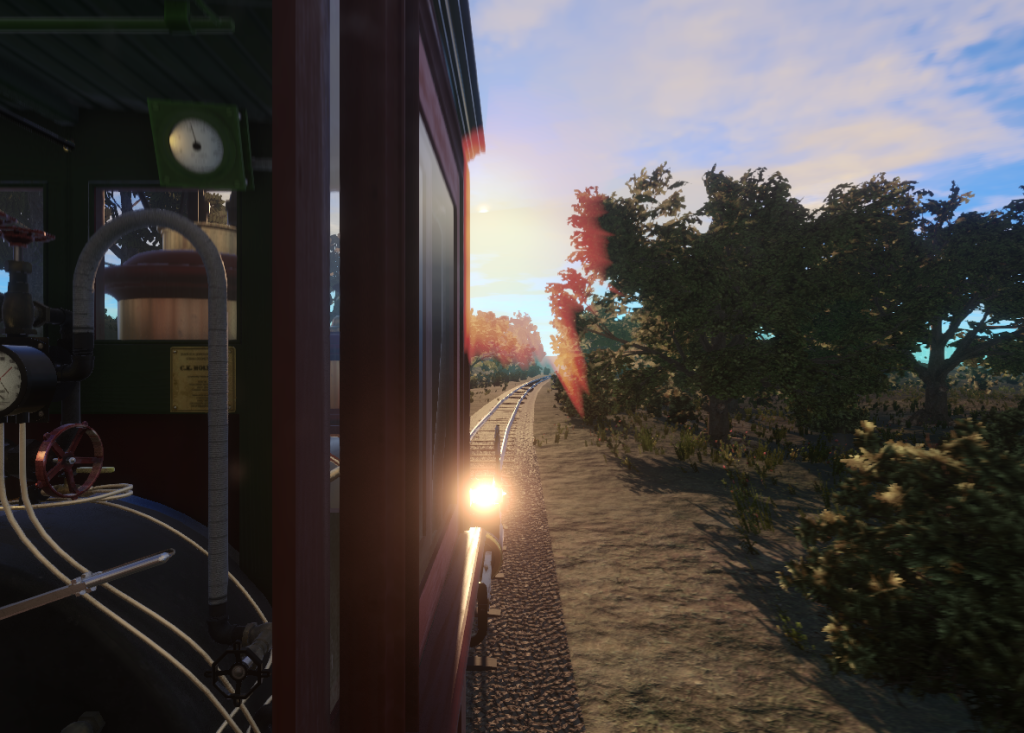
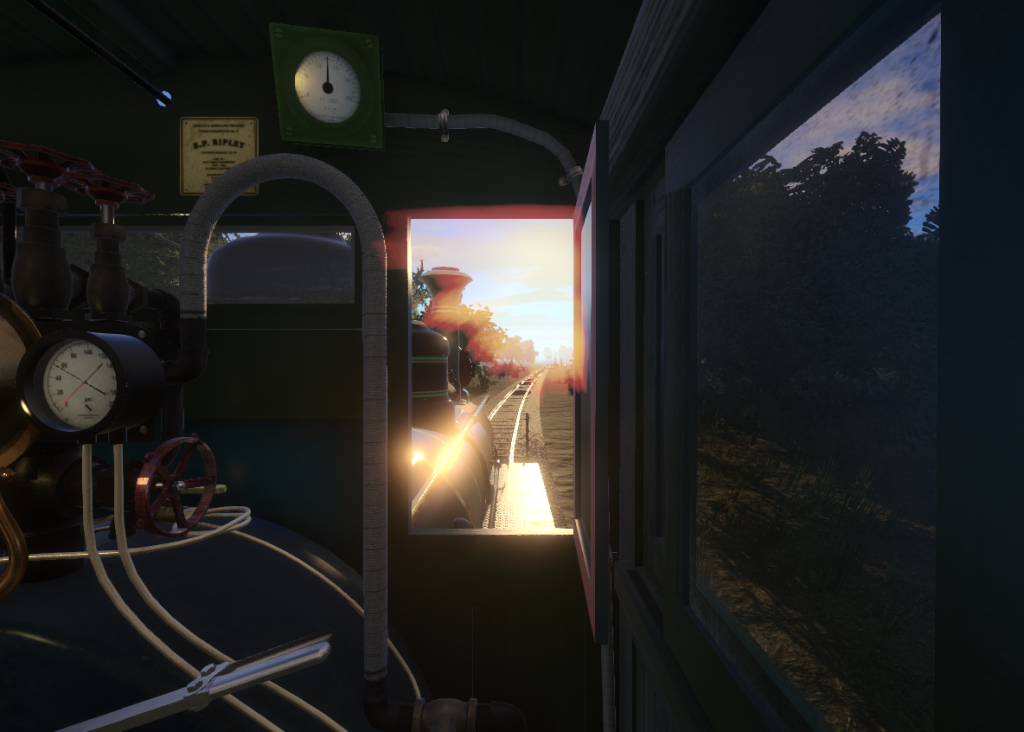
For the next part of the tour, let’s move over to what you’ve been waiting for… the right seat! Here’s the engineer’s view of driving the CK Holliday. Note that I’ve opened the forward window and the side sliding window. You can see the water stains from the rain that has built up on the outside of the window.
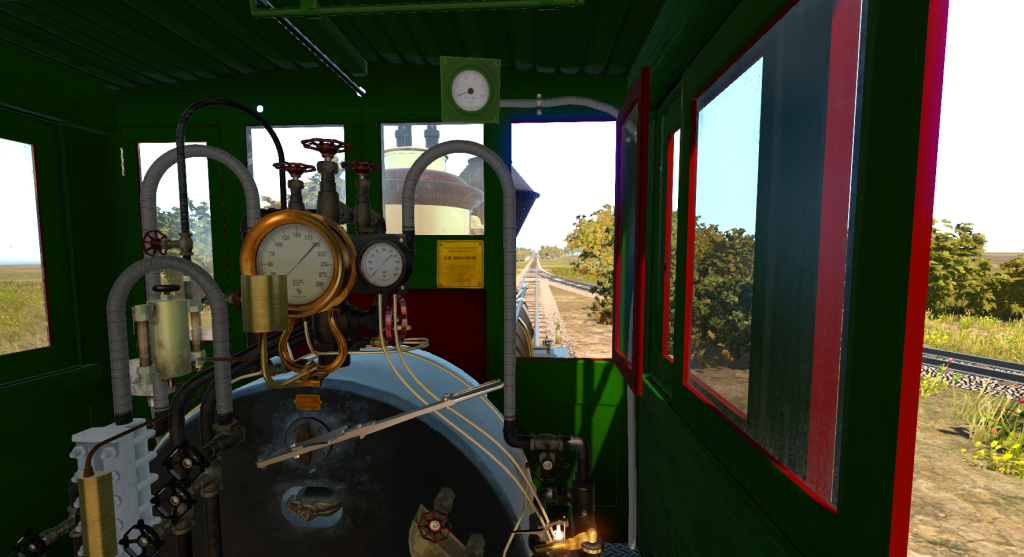
From the engineer’s seat you get a commanding view of the tracks ahead, as well as the few gauges adorning the cab. The speedometer is mounted right above the right forward window. Let’s take a closer look at the other gauges for now…

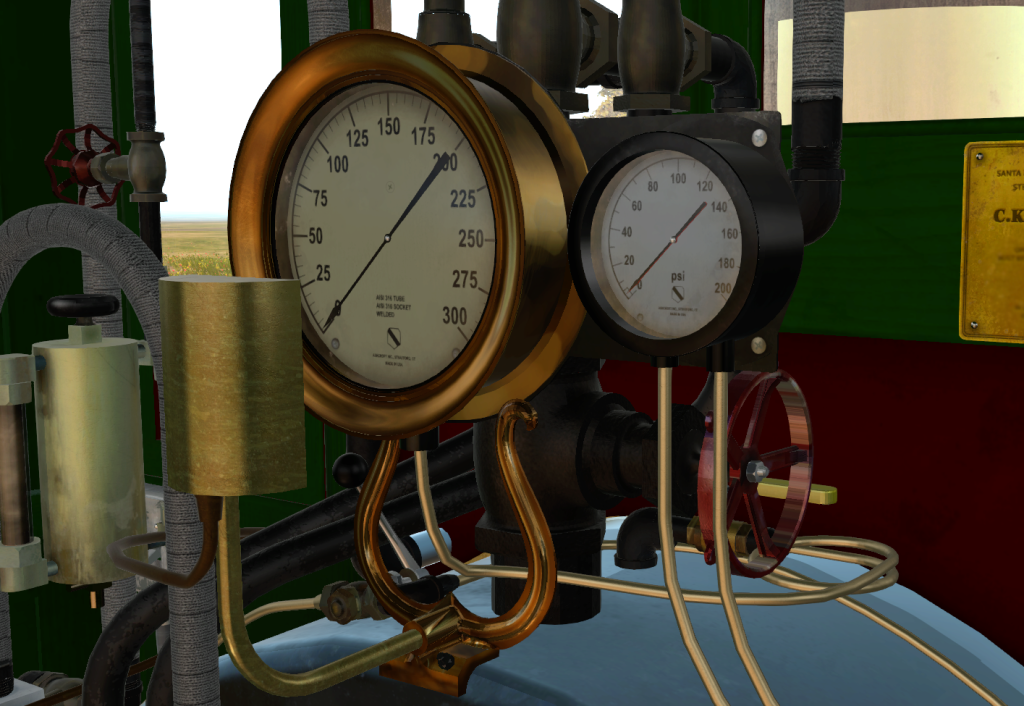
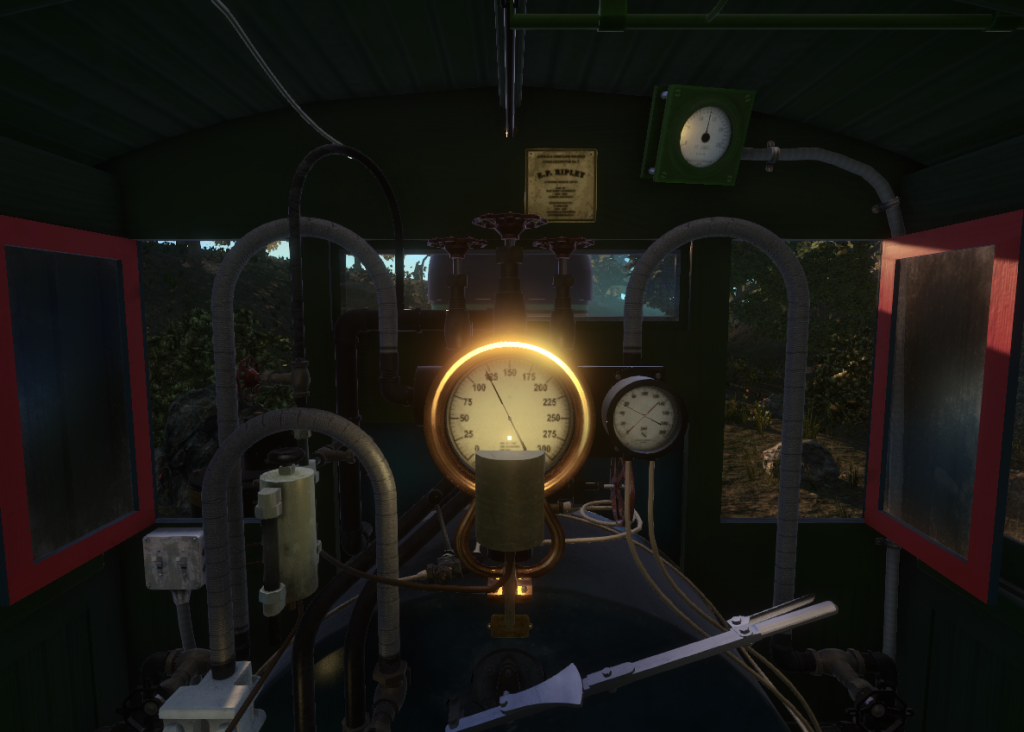
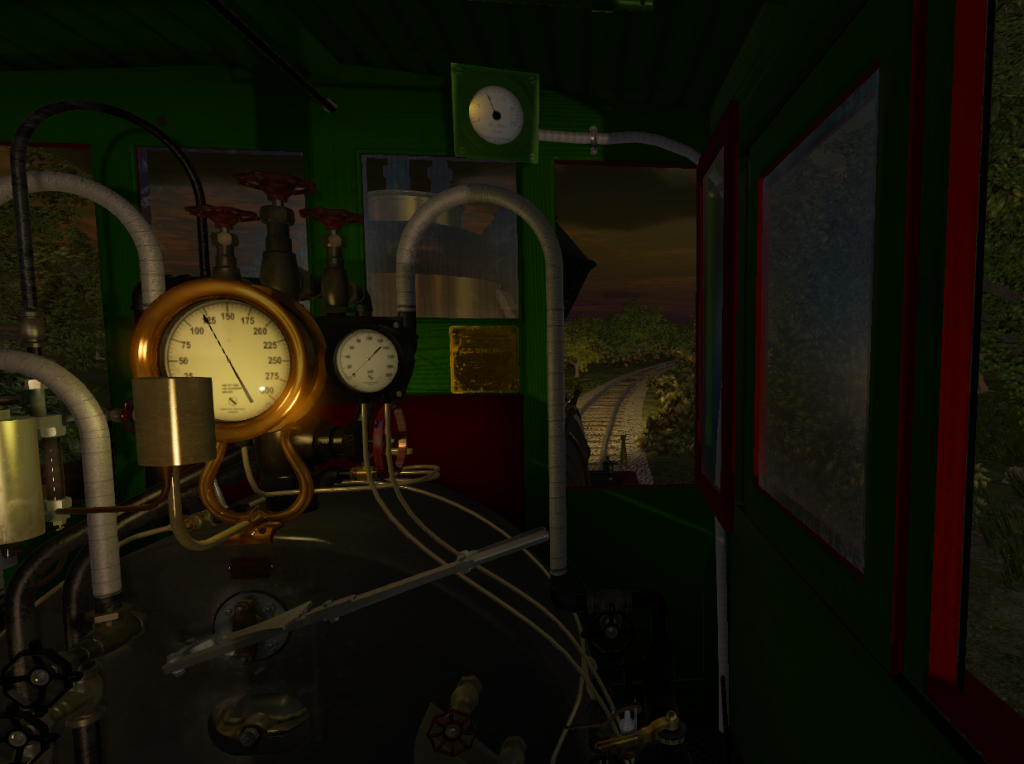
The main gauge is the boiler pressure, and to the right is the air brake system gauge, that you as the engineer will use to stop the train. The gauges are rendered in 3D per their respective manufacturer’s specifications. You can even see the three screws, 2 pan heads at the bottom and a flushed flat head at the middle top, that mount the gauge’s face to its body. The faces have been faithfully reproduced, right now to their specification fine prints! And of course the gauges’ have a covering glass, which you can see in the sim with real time dynamic lighting and reflections. There are some smudges and grimes at the edges of the glass where yet more dust and grease have collected.
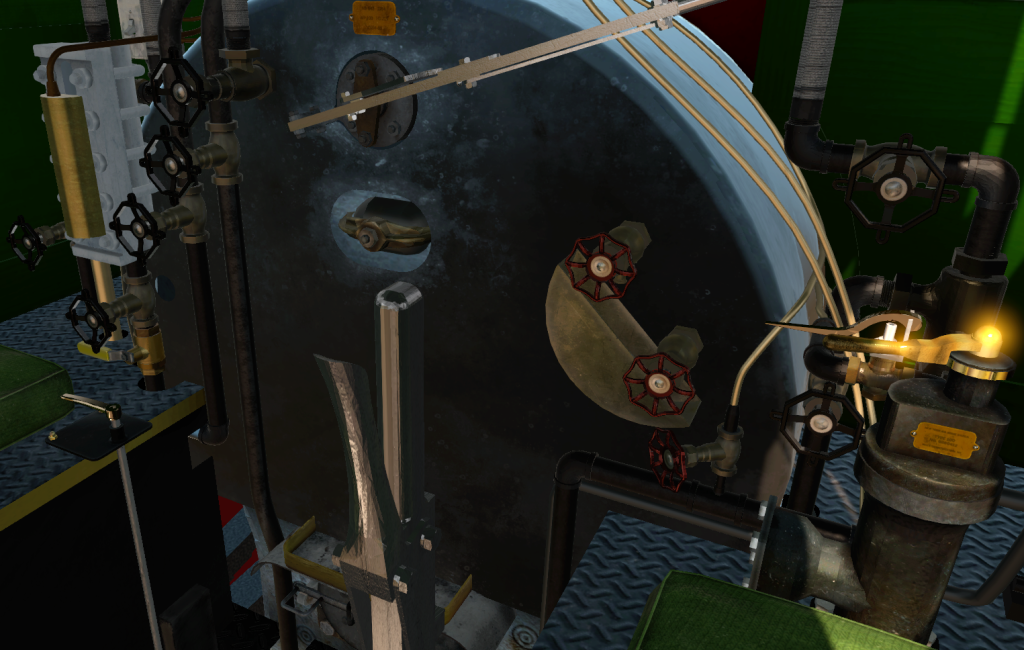
In the above picture you can see the controls on the engineer’s side. Again, each control shows its wear and tear from constant use. But that doesn’t mean the engine isn’t well taken cared for! You can see that some surfaces still retain their shine, like the brass air brake handle glowing when the sun hits it just right.
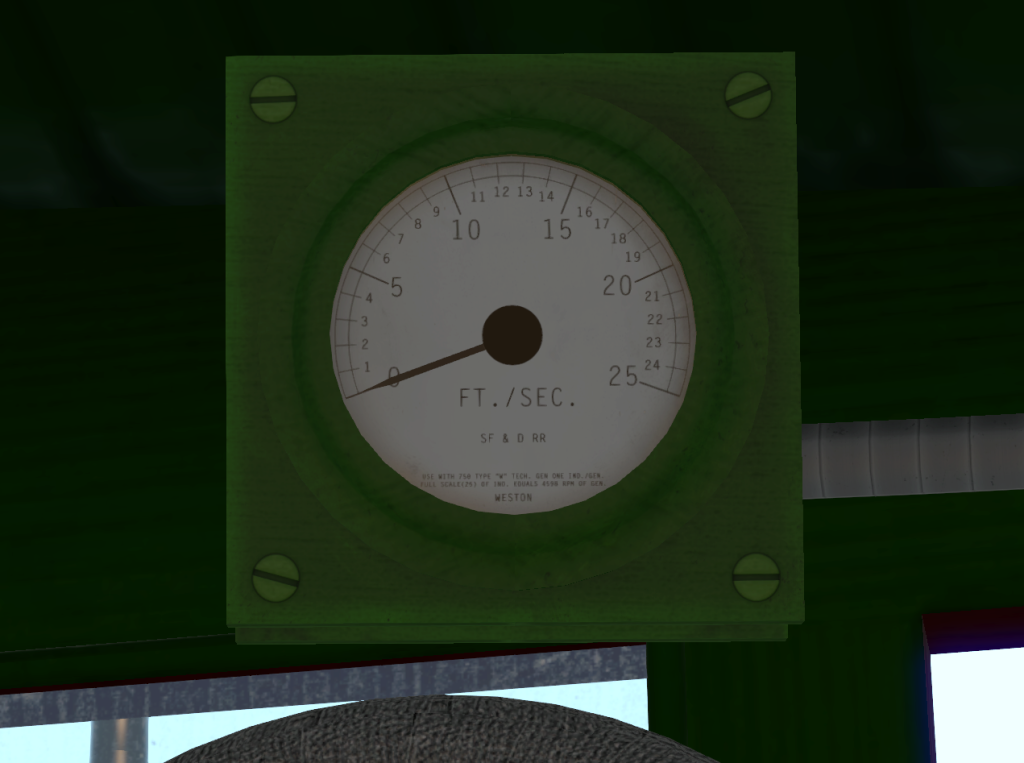
Now, back to the speedometer. It’s the green box mounted above the right forward window. It’s been reproduced in the sim right down to the individual graduation and the “SF & D RR” marking. You can also see that the speedometer reads in feet per second.
Okay, let’s show off some of that dynamic real time lighting and shadows I’ve been talking about.
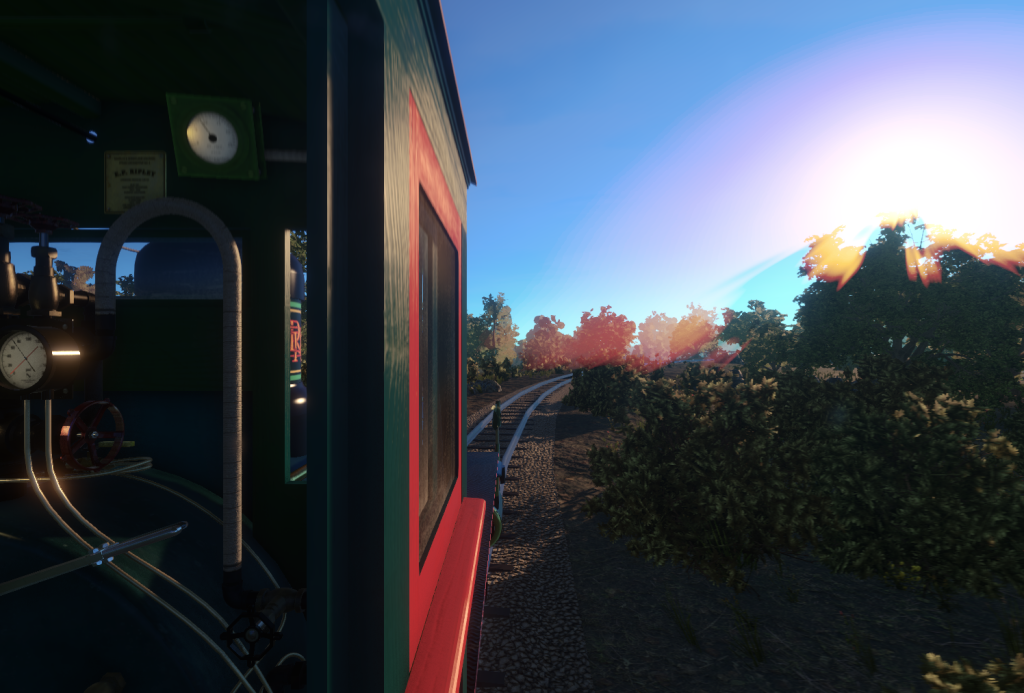
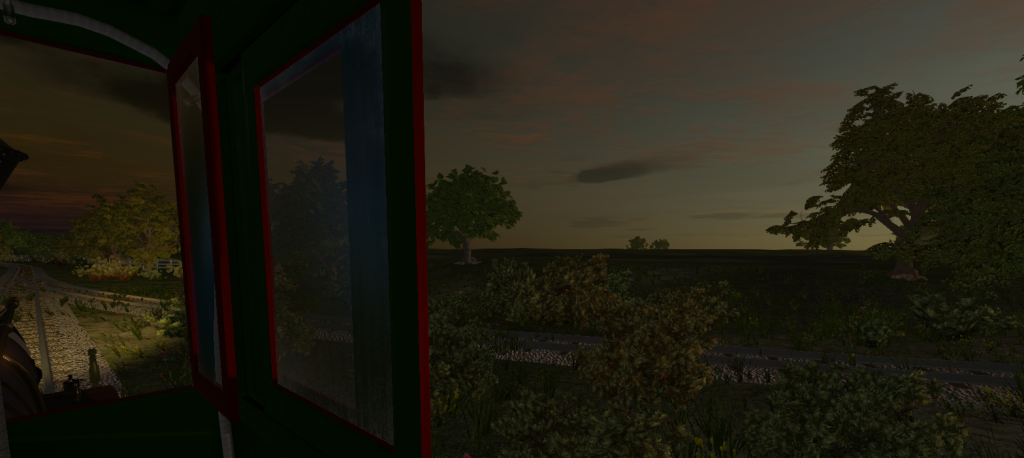
Now the sun is setting to the left. The lighting color has grown warmer, and it’s casting a very graceful shadow from the Johnson bar across the right seat.
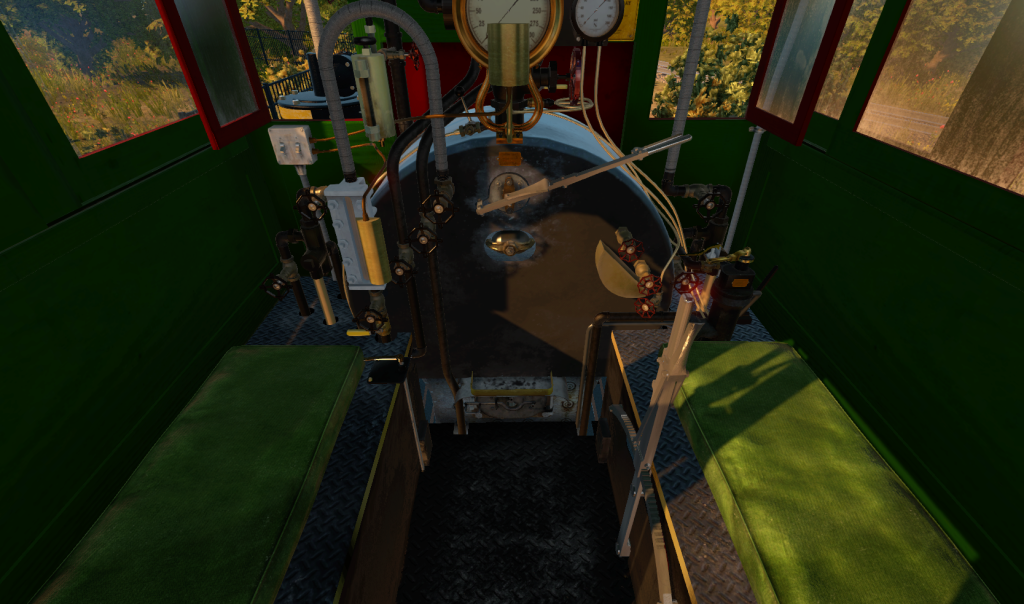
This is probably one of my favorite time in the sim (and real life, too!). The shadows are now much softer and even landing on the boiler gauge’s face. All those controls cast their shadows on the cab’s side panel. The sky has turned pastel…
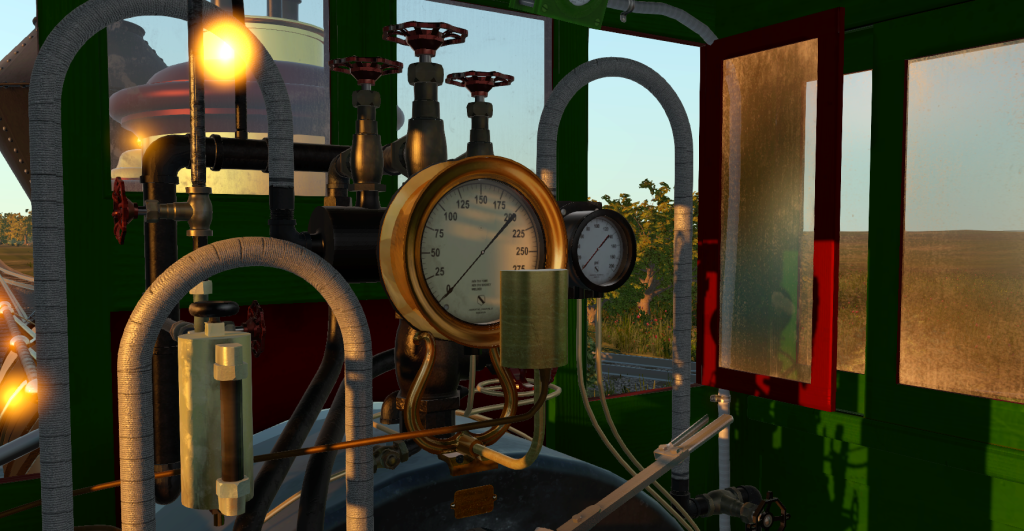
… so it’s about time to hit the lights! As the dark evening sets in, we can hit the lights to illuminate the gauges. We can see the lamp casting shadows onto the pipes as well as the bright highlights from the brass gauge stand. The speedometer at the top of the picture also lights up from its internal lamp, activated from the same switch.
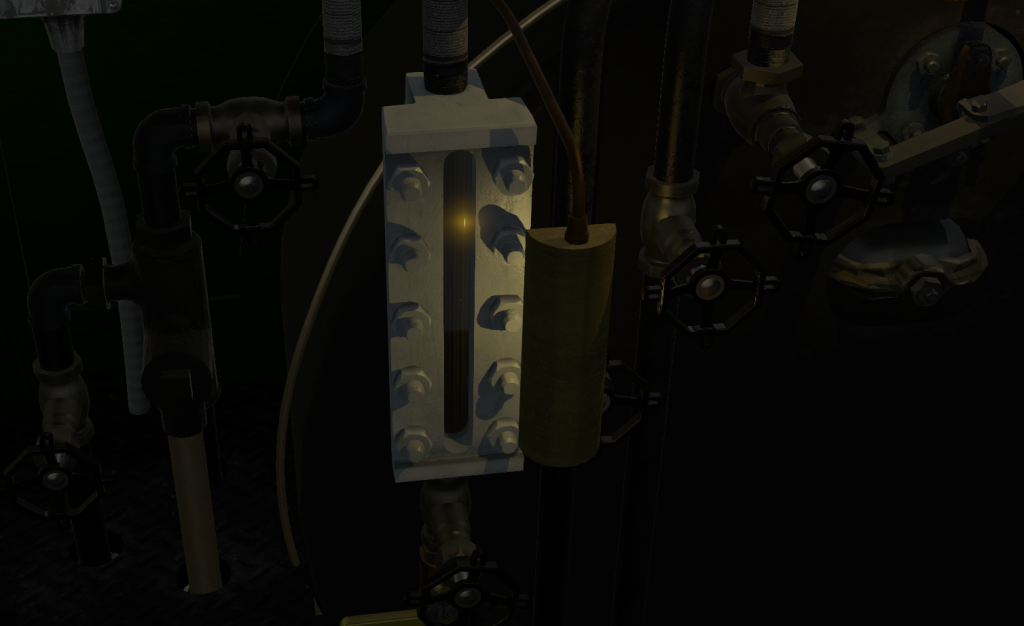
Similarly, there is a lamp for the water glass, also controlled from the same switch. The way the light casts the shadows from the water glass’ geometry and the bolts really give a feeling of depth to the scene. There’s even very subtle hints of bevels in the sight glass itself.
But with all good things we have to take bit of caution here. The real time dynamic shadows can be very costly to the sim’s performance—you’ll need a fairly strong computer to run all these features well. There will be an option to turn off these shadows to help with the performance on your computer, but it still looks great and very convincing even without these shadows. There will be several options like this in the sim purely for you to tune the sim’s performance, of course at the cost of losing some eye candy.
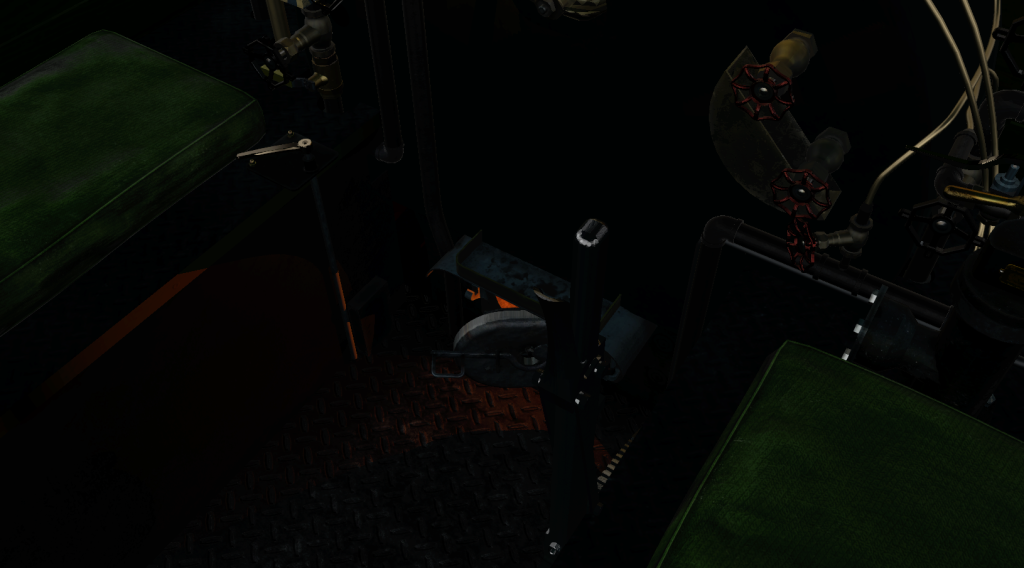
This might be hard to see (make sure you check out the enlarged picture), but the other light in the cab is of course the fire! Here I’ve lit a very low fire, and its warm red hue glows dimly on the foot plate. What you can’t see in the picture is the flickering of the light. It’s very cozy and I could just sit there and watch it for hours like a real fire.
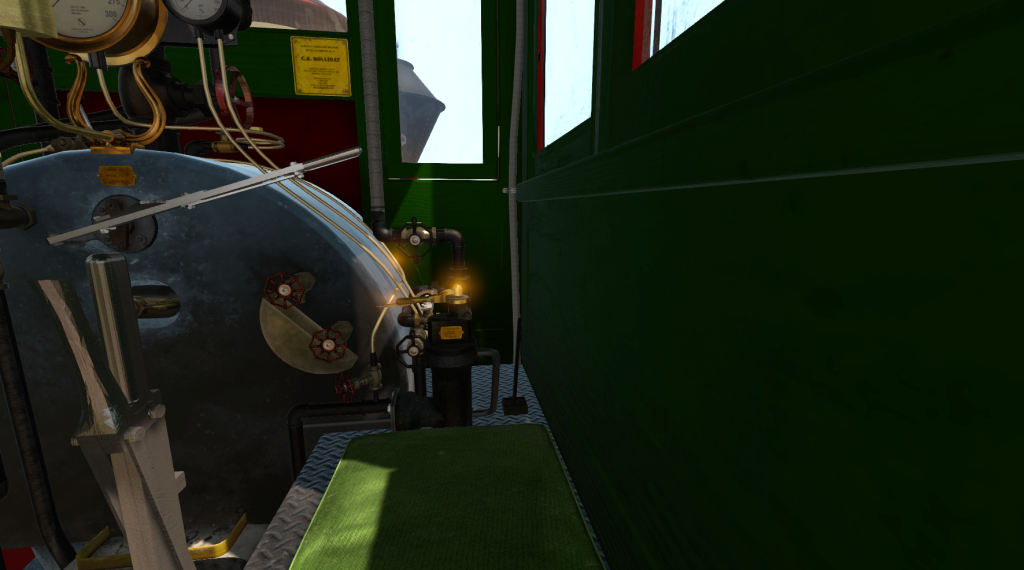
I hope this next one shows up okay. Well, just because the whole cab is painted doesn’t mean there’s no surface details! Here, if you look closely enough you’ll see slight variation in the paint due to the wood grains beneath the paint. The shininess of the paint even follows the wood grain! These wood grains were hand-placed following the correct orientation of each piece. For example, a post will have vertical grain while a panel might have horizontal grains. You’ll be able to see all of this. Check this out in the side panel, or the panel in front where the edge of a panel gets hit by the sun beam.
And while we’re here check out the try-cock funnel too! There are variation in the shininess again because it had been used before, and the brass is wearing dull.
Let’s take a closer look…
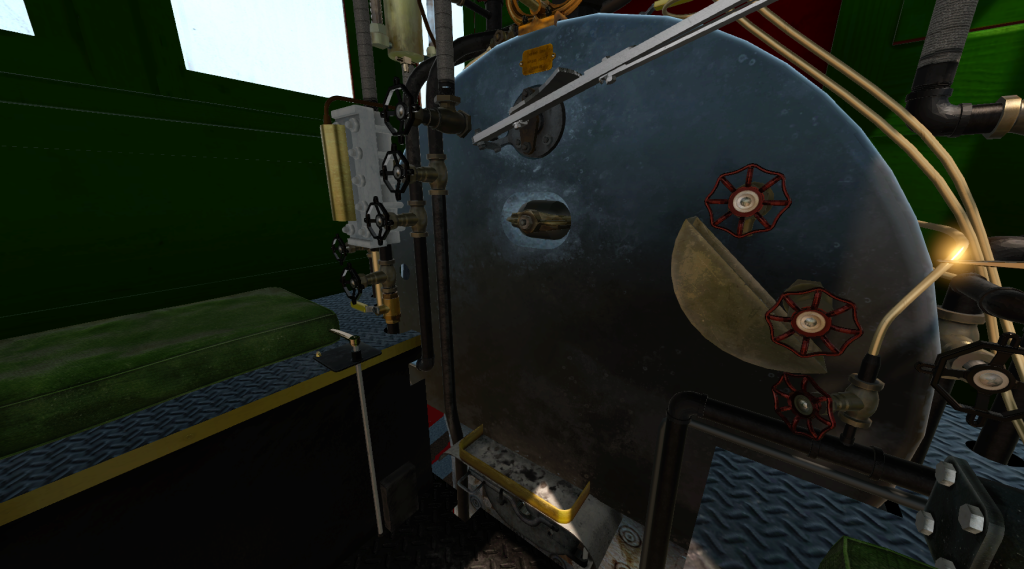
Ahh ha! The back of the boiler jacket has received its share of wearing also. A part of the jacket’s bright coat has dulled away from the heat and constant use and contact with the crew. There’s even water stains on the jacket, perhaps from the try-cock or even from the dripping of water/steam from all the pipes around it.
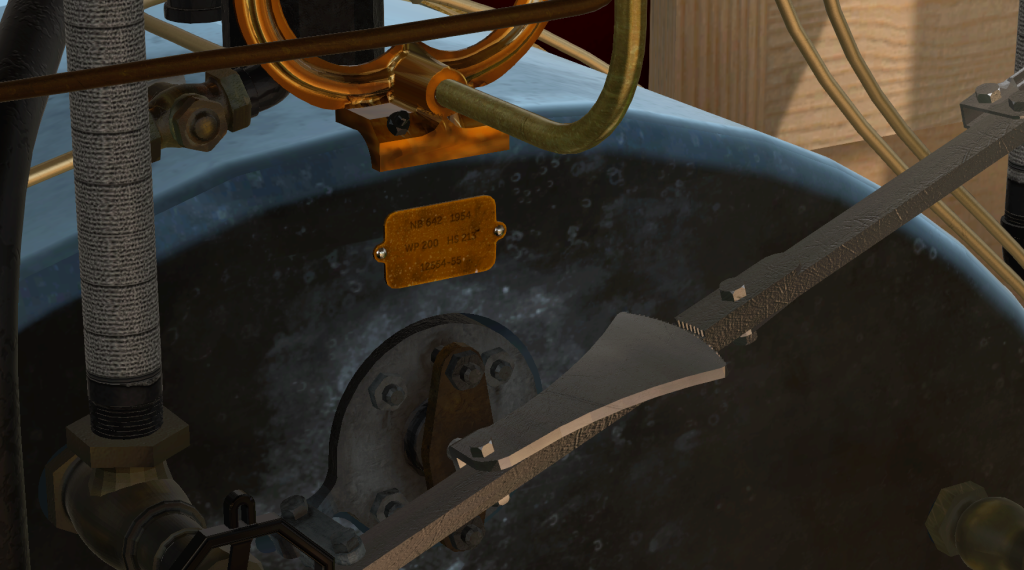
Here’s another closer look at the wear on the boiler jacket. The area around the throttle packing has received considerable wearing and is much duller than the area around. This is because the throttle packing gets disassembled and reassembled quite often as part of routine maintenance. The boiler’s ID plate right above the throttle has also been faithfully reproduced here in the sim.
And finally, if you prefer the natural state of things, you can have the cab without the paint, exposing the ash wood underneath all that green paint!
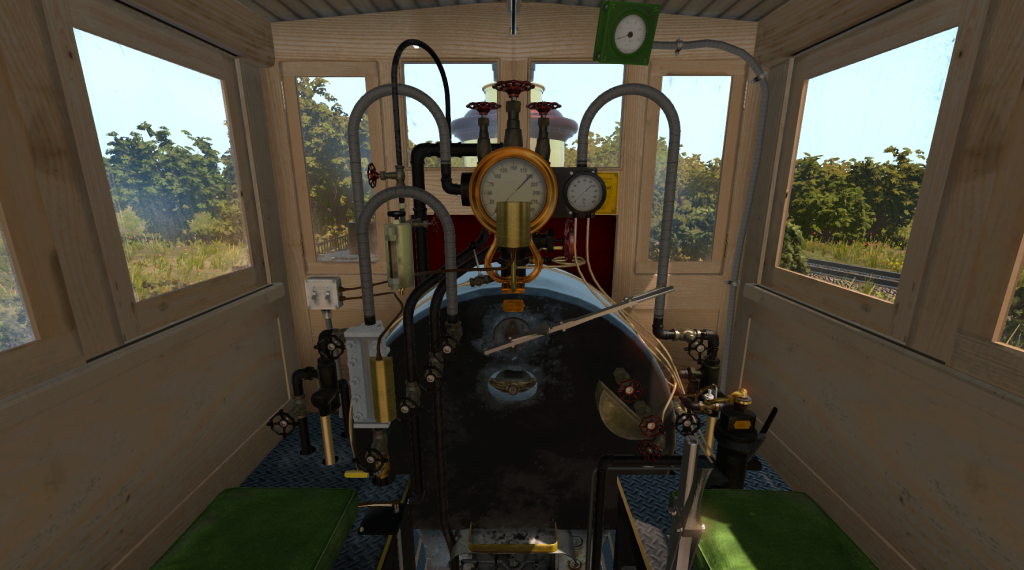
What do you think? In my opinion, it looks much warmer and bigger than the painted green. But hey… the green is proto typical and it does help cover up all the oil and grease.
I hope you enjoyed this update. There’s still a lot more work left (as always!) but you can see that it’s actually coming together. You’ll be able to have your very own CK Holliday soon!
