Category Archives: CK Holliday build
New video!
We’ve got a video, we’ve got a new video here!
See? Nobody cares.

But in case YOU do, check it out!
Let’s compare pictures also with the old model, which will make the improvements so very obvious. No further commentaries needed here, just steamy hot pictures.


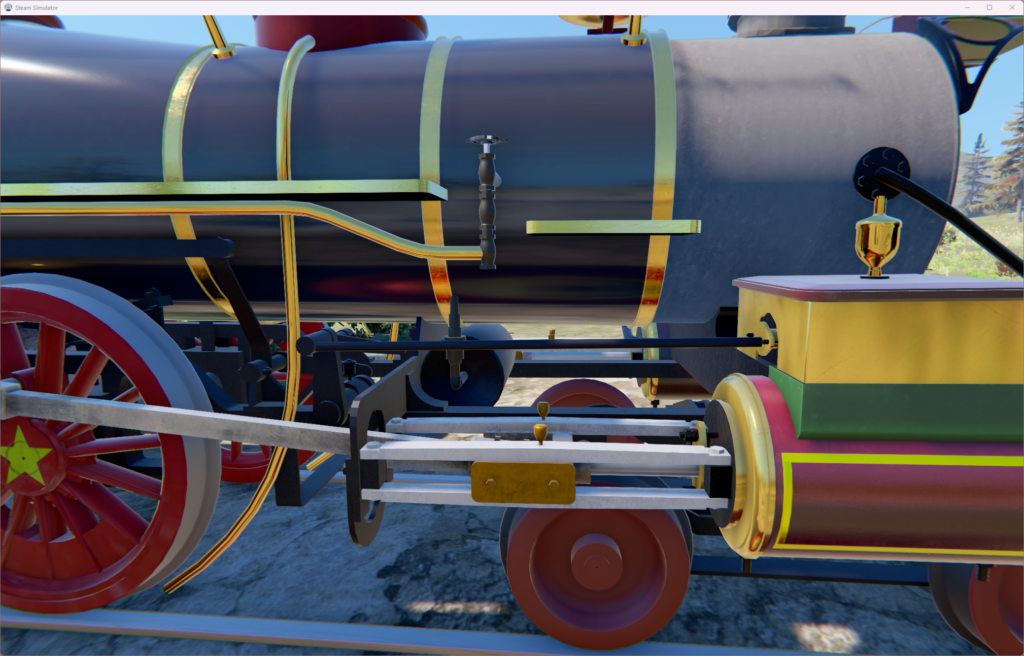


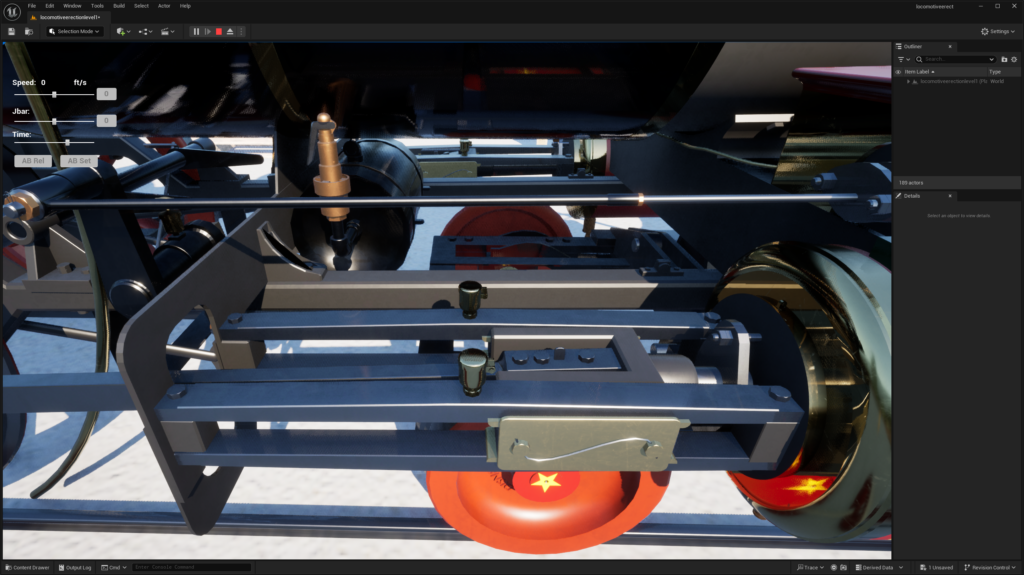

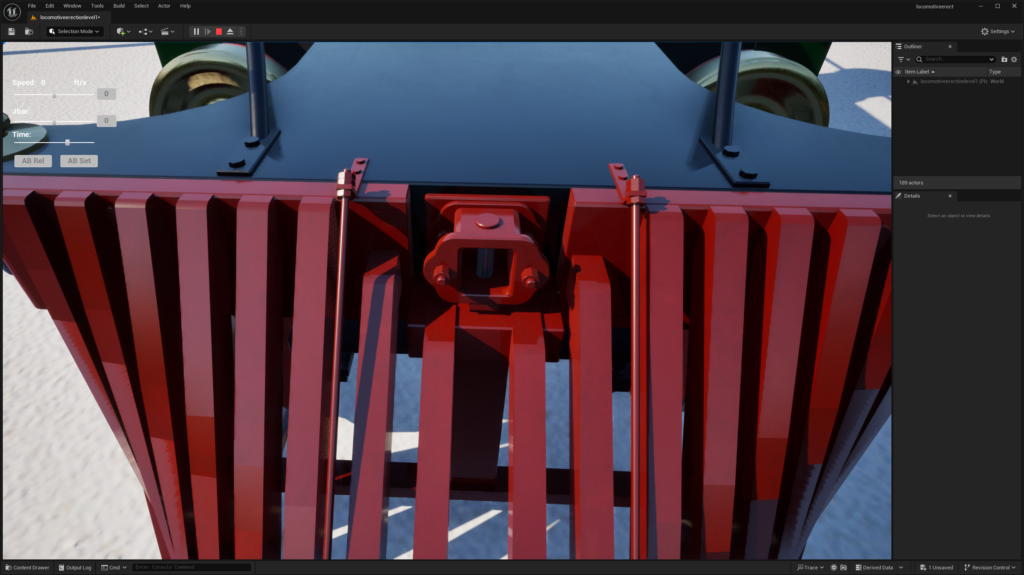
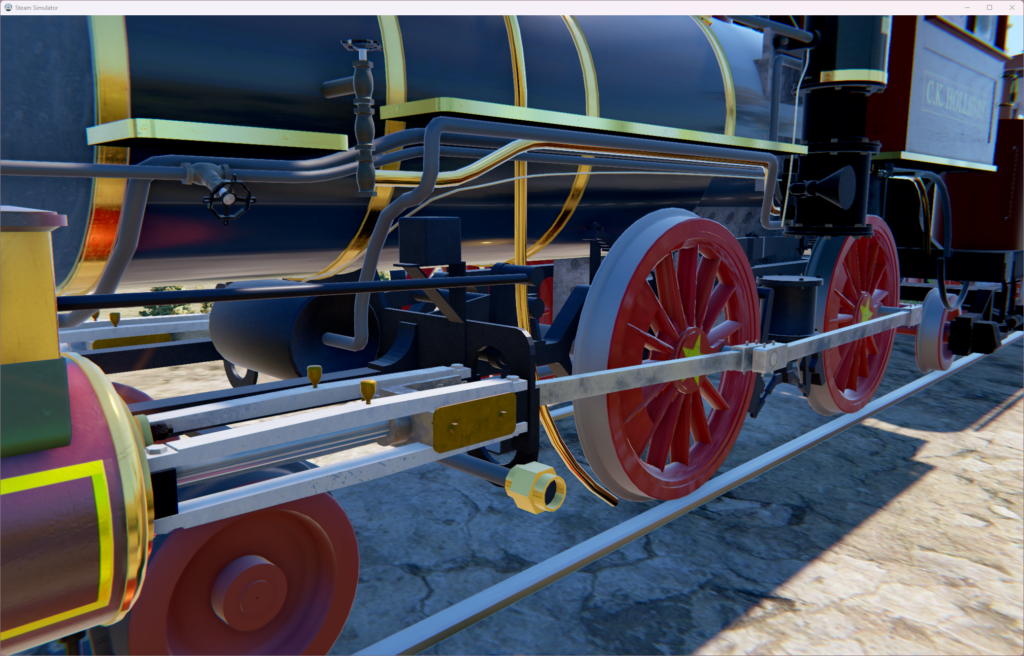

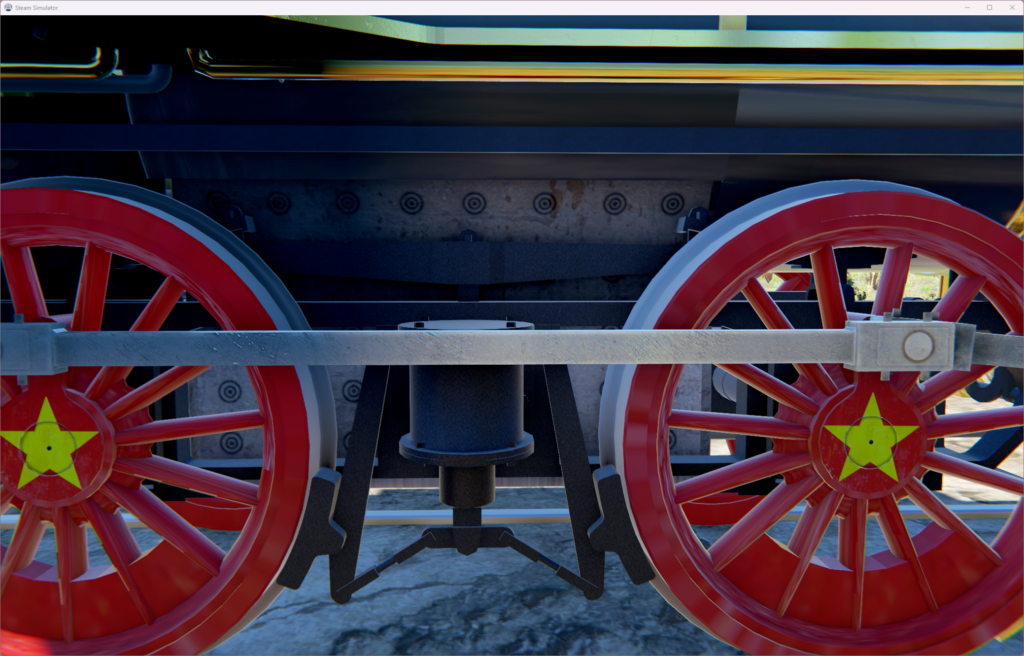


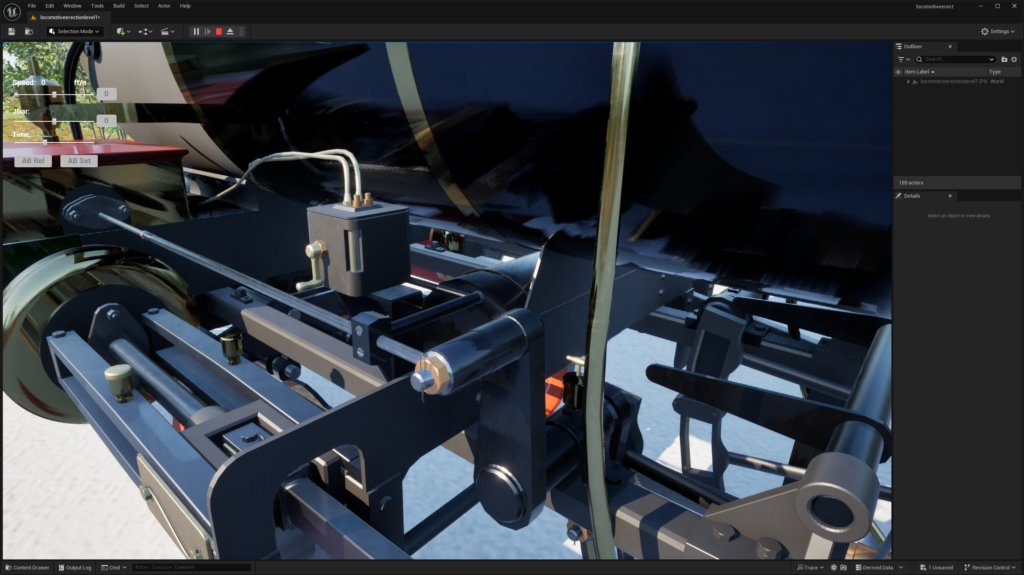
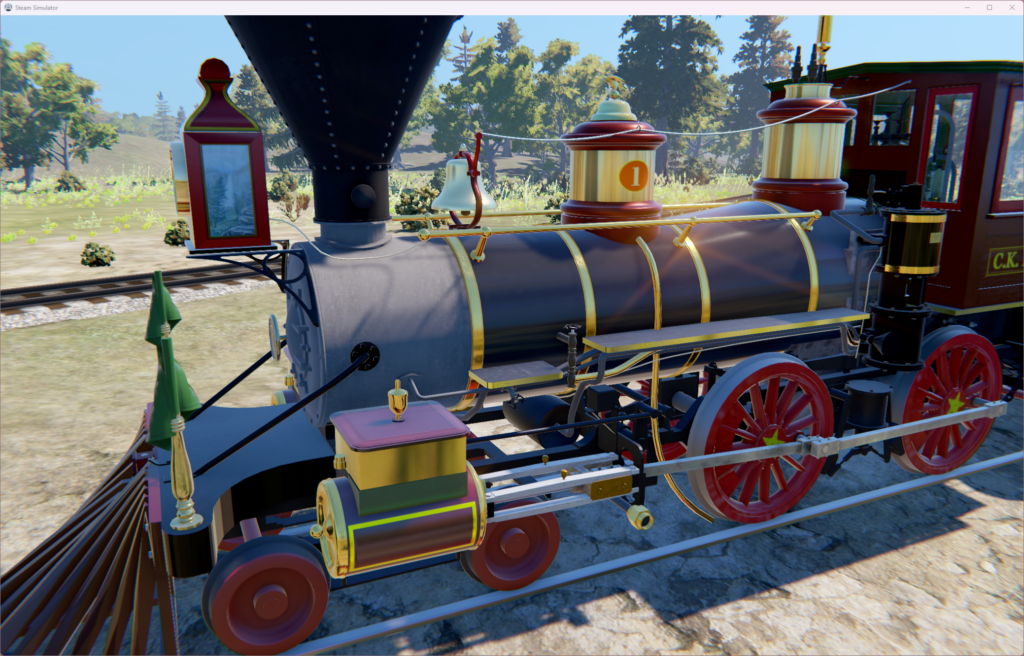
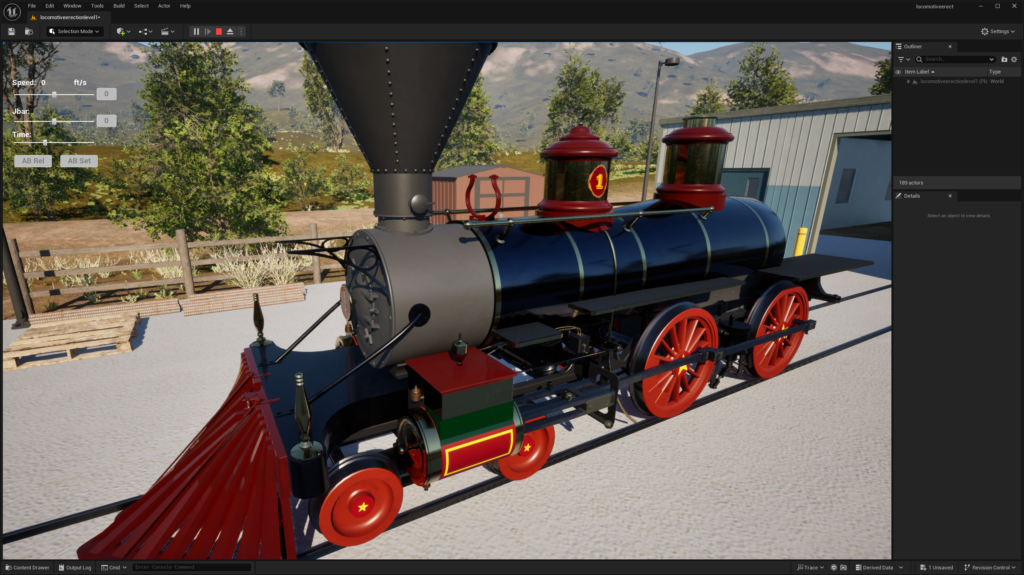


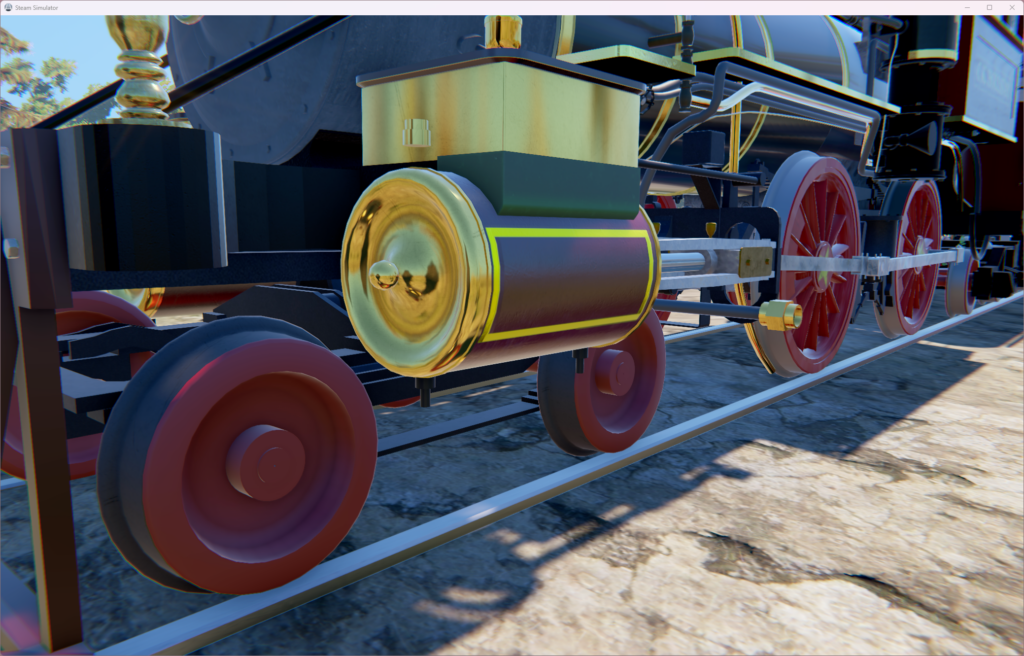
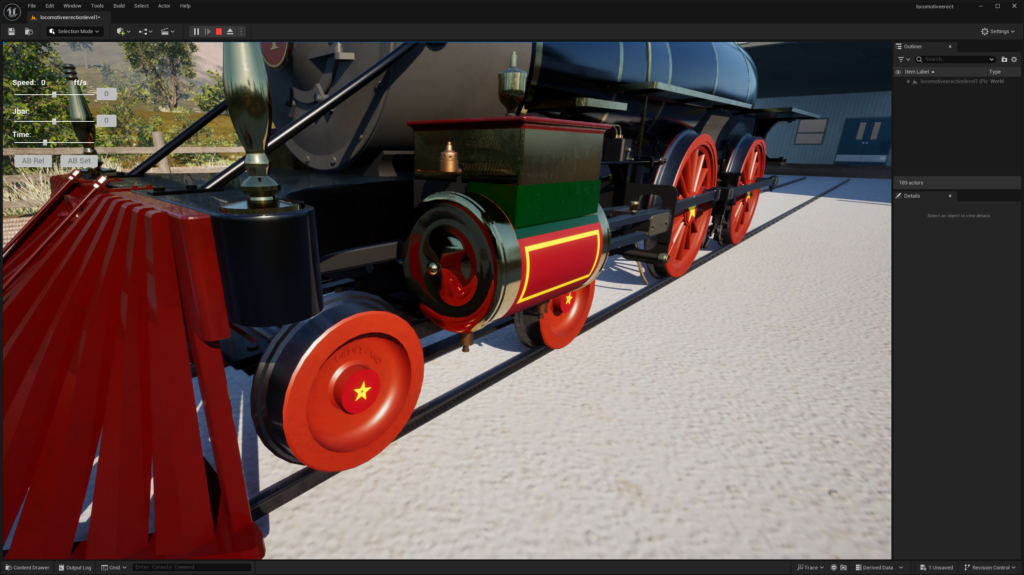
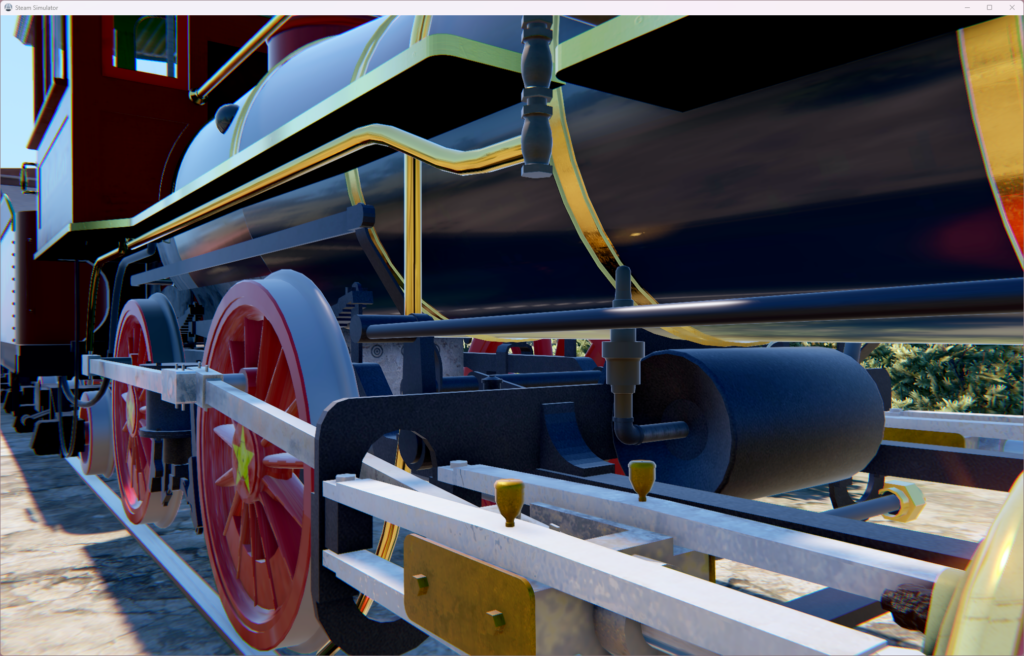
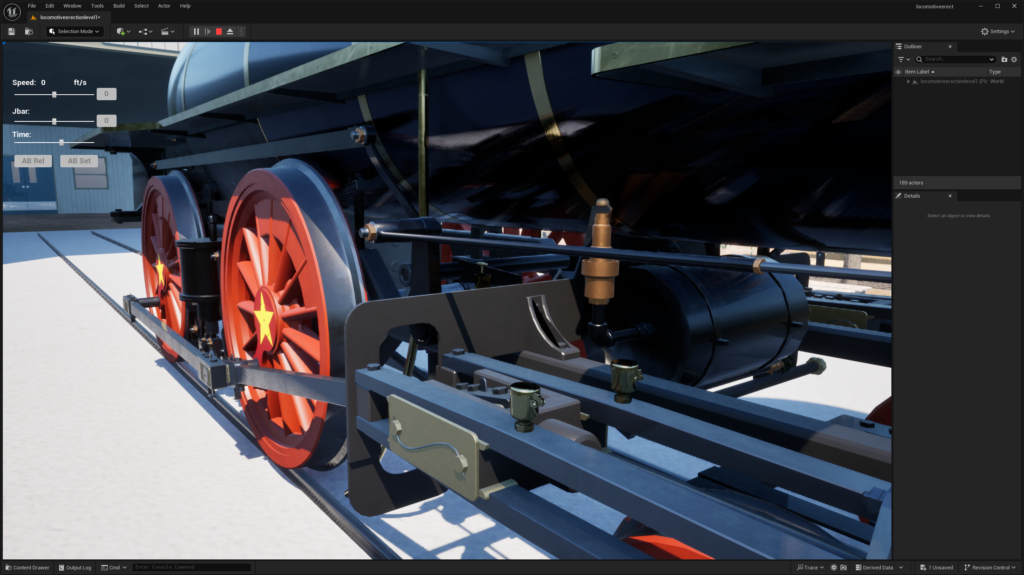
Now we’ll compare the meshes: Left side is new, right side is old. Despite the increase in modeling details, the mesh is much cleaner!


Next big items are the plumbing modeling, the backhead, the cab, and the coding of the firing dynamics, thermodynamics, physics, and plumbing/controls. Whew. But, I might take a break and finish the tender first.
Filed under CK Holliday build, Steam Engine Simulator
Comparison
Here’s a small comparison between the old and the new model.
Below, the left (towards the front) is the old bell yoke, and the new one next to it is about to be finished. The difference in resolution and definition is obvious in the arms, but note also the small indentation in at the pivot, as well as the mounting bolts on the base of the yoke.
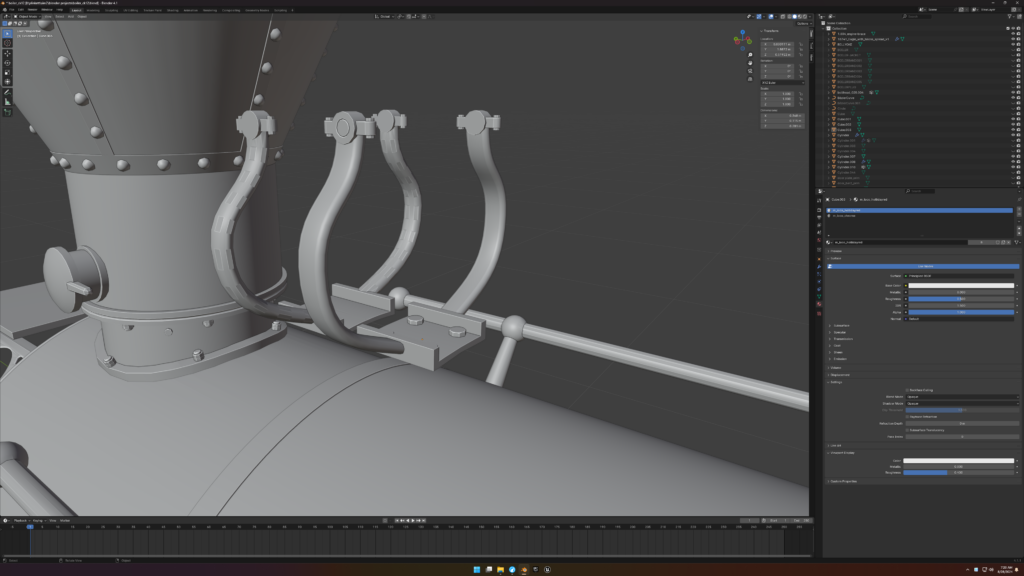
From all this, the new mesh also manages to be much cleaner than the old one still:

Filed under CK Holliday build, Steam Engine Simulator
Still (very slow) progressing
Time for a quick post to just say that I am (and the current engine project) is still alive.
In this stage of the rebuild, the boiler is now being remodeled.
(To answer the incoming (and already asked) question: yes I did get the running gear to work! There’s QOL stuff I need to finish before showing it all off in a video.)


It doesn’t look like much but the model has a lot more definition. In the shot above, the old (v1) model is on the left, and the rebuild on the right.
And, in the shot below, the old one is also on the left and the new one on the right. On the smokebox front, where there is more detail, it’s obvious that the new model is just much “cleaner”, which will result in better detail and performance. The new model even have washers and pins on the smokebox door swing!

And here are some import tests into UE5. The model hasn’t been mapped/textured and there’s plenty of little details to add, but the “outline” of the boiler is there.
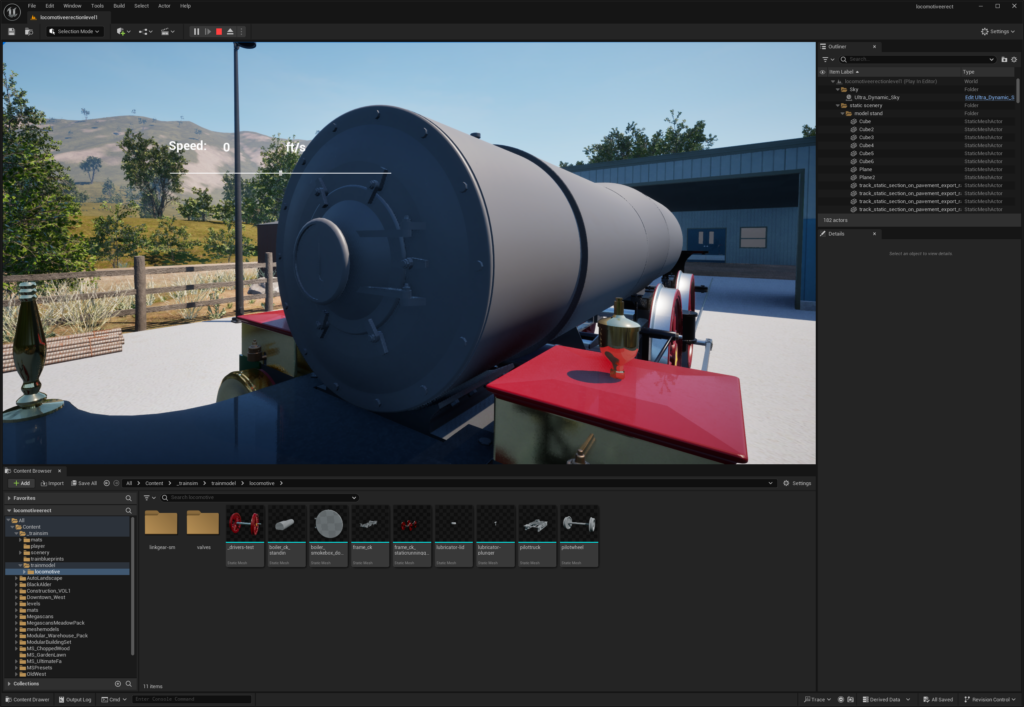

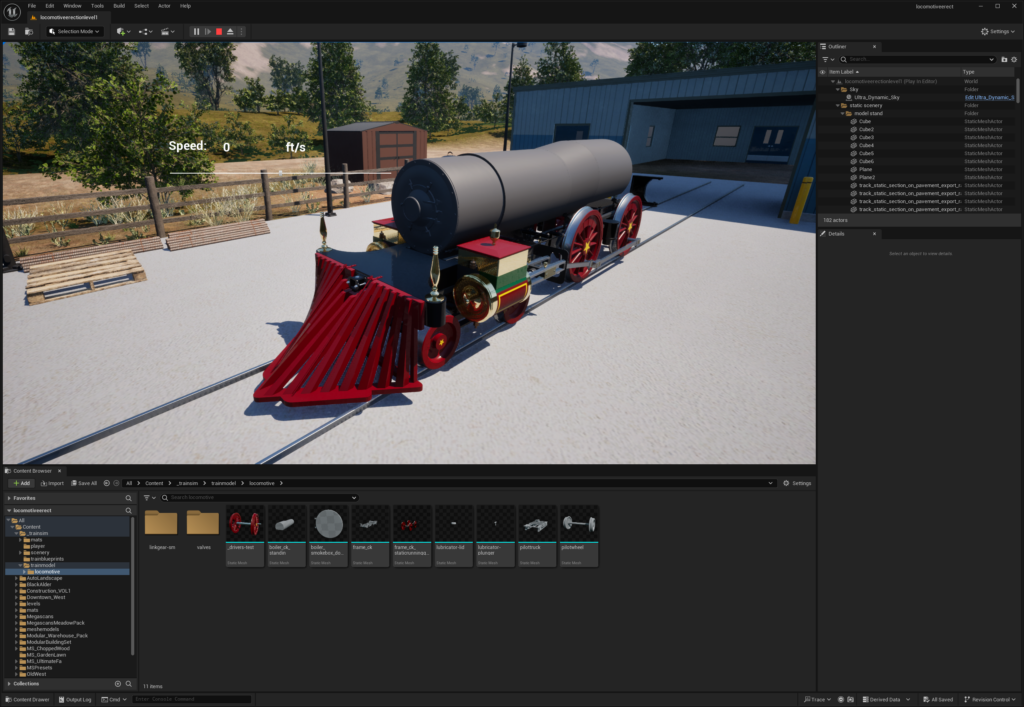
I’m contemplating whether the stay bolts on the firebox should be modeled or textured for this build. For reference, they’re textured in v1, which means they get blurry when you get close to them.
My goal is to finish refining the running gear and the boiler before the next video, so yes I have updates and features planned. It’s a long road but I think if and when finished it’s going to be a simulation unlike any others, even the current v1 DRR Sim!
Filed under CK Holliday build, Steam Engine Simulator
Animated engine models
Let’s take a look at the progress (or the lack of progress) of the engine link and valve gear animation!
It looks great in Blender so far, until we get into UE5 and suddenly it’s a lot more complicated.
While I ramble about making this all work out “for the next version of the simulator”, don’t take this as any kind of announcement or hints. The “next version of the simulator” is still only a dream at this point, but sometimes dreams do come true!
Filed under CK Holliday build, Steam Engine Simulator
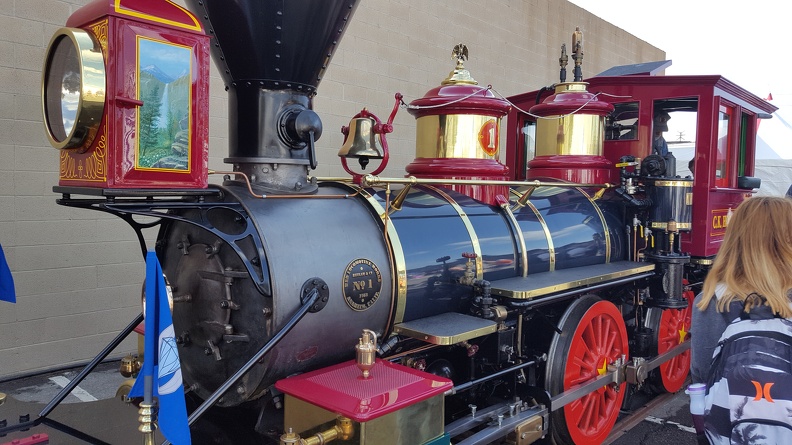
Previewing the CK HOLLIDAY rebuild
Once every “few” years at the Disneyland Railroad, an engine goes off to a locomotive shop for a rebuild. The engine is taken apart, every component inspected, and either get refurbished or replaced new. With the sim being almost 6 years old now, I started to wonder if I could rebuild my own CK HOLLIDAY, using the current generation graphics engine.
Well, I did started the rebuild, and here’s a preview of it so far:
If you’re wondering what the real rebuild is like, I covered the last CK Holliday rebuild back from 2015-2016 here:
My rebuild is based on the the study model, using it as a template. It is so far all new, with new model and components made from scratch. Hopefully, we’ll cover this aspect of the build in more detail. For now, enjoy the video walk around!
Filed under CK Holliday build, Steam Engine Simulator
Old videos of interest reuploaded
These are not new videos but they are reuploaded back from when this site was just a (now gone) blog from blogspot.
The first two are probably the most interesting: they’re Steve D’s videos from the Ward Kimball dedication run in June 2005 early in the morning before the park opened. This was held after Boschan Boiler Restoration Inc. completed most of the work on the engine (few final bugs remained before full service) and the engine ran with one car around the park a few times for the DRR crew and those worked on the engine. The then-president of Disneyland was also present. You can read more about this dedication run in “From Plantation to Theme Park”.
The first video is the Ward Kimball rolling out of the roundhouse on the way to the dedication run. It’s interesting to see the actions around the roundhouse before it does not often welcome visitors. The #3 Fred Gurley is also on the near by track performing blowdowns as part of the preparation to roll onto the main line.
(There is also an upscaled and stabilized version of this video here).
The second video is a cab ride on the Ward Kimball during the dedication run. It’s interesting to see the park so empty in the early hours of the day. Note also that one of the final bugs mentioned above is the cylinder cocks being stuck opened, hence the insistent steam spewing out in the front of the engine. I don’t think the Ward Kimball ever had another cab ride (for non DRR crew) since this run.
(And another upscaled version here; whether upscaling was helpful or not—you decide!)
The rest are simulation videos during the computer model recreation of the CK Holliday. They’re less exciting but nonetheless mechanically interesting to see how the parts ended up working in the computer model just like the real engine.
The first one is probably the most ambitious (at the time), it shows how the eccentrics, rotated on the front driver axle, drive the rocker on each side of the engine alternatively to time the steam entrance and exhaust into each cylinder. It’s hard to explain until you’ve seen it in motion.
This second video is another view:
This video shows what’s going on inside the boiler when the throttle in the cab (left side of the video) is pulled. The throttle link opens up the “pop-valve” on top of the dry pipe, the vertical pipe on the right side. This lets the steam into the pipe and out into the cylinders (technically the steam chests first)—(also, this view looks weird before the boiler and steam domes are hidden/not shown):
Finally, here’s a study of what the throttle looks like when it’s pulled. It was made to study the arc of the small little links at the end of the throttle bar, which rotate so slightly when the throttle moves back and forth.
That’s all for now—but I may have some non-exciting news later.
Filed under CK Holliday build
the real deal
Drawings of the real steam locomotives are hard to come by. They are usually old, or have been lost, or incomplete, inaccurate, or over simplified. Whatever drawings that exist are usually guarded and “proprietary”, so there’s very little luck that you can get your hands on a complete set without knowing someone on the inside.
Perhaps a big attraction to the CK Holliday Plan Book is that you can get your hands on a fairly complete set of plans, based on a very popular engine, made in the same style as the “real deal” drawings.
So, once a complete set is up for grabs, I think it’s a pretty big deal, and I definitely want to let you know about it. This is a complete set of the Promontory locomotives. They are made available because these drawings were produced with public funds to construct the full-size replicas. So, indeed, this set is the real deal.
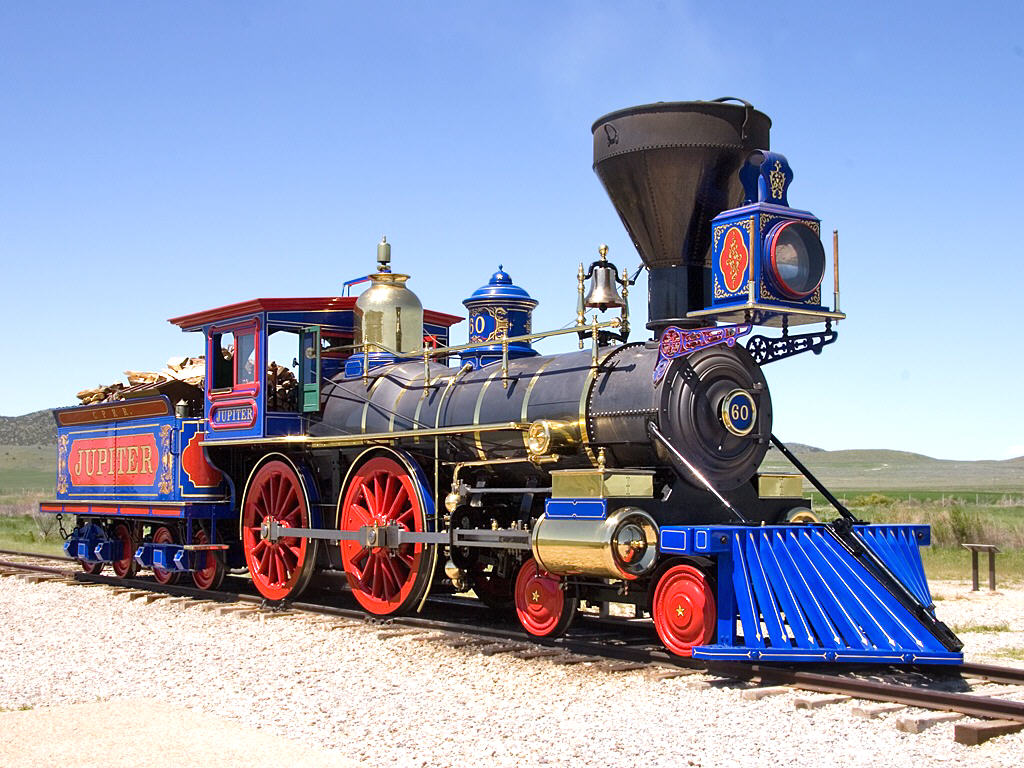
You can head over to the International Brotherhood of Live Steamers’ page to download your own copy. It comes in two parts, covering a staggering 786 sheets! In comparison, the CK Holliday Plan Book has about 100 sheets but some of them are text. And of course, that’s without the tender. (According to me, my Holliday model had about 3500 parts with 676 of them unique—again, without tender).

PS: The coding for the sim 1.0.2 update was 100% Unfortunately, during the update some bugs were introduced and prevented the sim from building/compiling, so it’s going to be a bit of a tedious work bug hunting/fixing some dependencies. But, yes. the good news is that the coding of new features is done and we’re almost ready to release the update!
Filed under CK Holliday build, CKH Plans, Steam Engine Simulator
up close with the ck holliday in fullerton
Last month, the CK Holliday made a very special appearance at the 2016 Fullerton Railroad Day. It was a momentous occasion because it was the engine’s first public appearance in quite a few years.
Why the disappearance for so long? The Holliday recently underwent an extensive refurbishment at the Hillcrest Shop in Reedley, California. The engine received a new boiler, new plumbing and appliances, and many more improvements and changes. Indeed, she’s the “newest” that she’s ever been, since 1955 when she was “actually new”! This is truly an exciting moment for the engine.
Trivial rumors might also suggest that Pixar’s CEO John Lasseter had some say in the direction of the refurb, given that he’s an avid train fan and the Hillcrest Shop did work for him before.
Join me as I survey the engine up close and personal, and talk to the DRR crew. I also make some before-and-after comparisons to get an idea of what kind of work was done on the refurb (… and it’s indeed very extensive!)
In a later update, I’ll post a selection of pictures I find interesting. For now, enjoy the video…
…and this bonus picture (I had to do it!)
Filed under CK Holliday build, CKH Plans, Steam Engine Simulator
46: the eagles are coming!
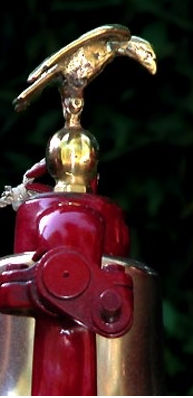
Dennis (IDMT129) at the Burnsland Disney Railroads forum shared his very thorough research on the iconic eagles that mount each of the Disneyland Railroad engines (err… except for one).
Here’s one of the eagles he studied, with Dennis’ own picture. This one is on the Marsh engine:
In the post, he details the differences between each of the four eagles. Even what kind of damages and repairs each eagle obviously went through. For example, Dennis’ sharp eyes observed:
EP Ripley has an interesting feature. The feet have been re-weld backwards. The front 3 talons appear under the tail and only a single talon is viewed from the front. You can also see the perch is a separate feature from the ball and welded in place with a spacer or blank embedded in the weld. The Hex nut under the ball also appears to be another welded after feature.
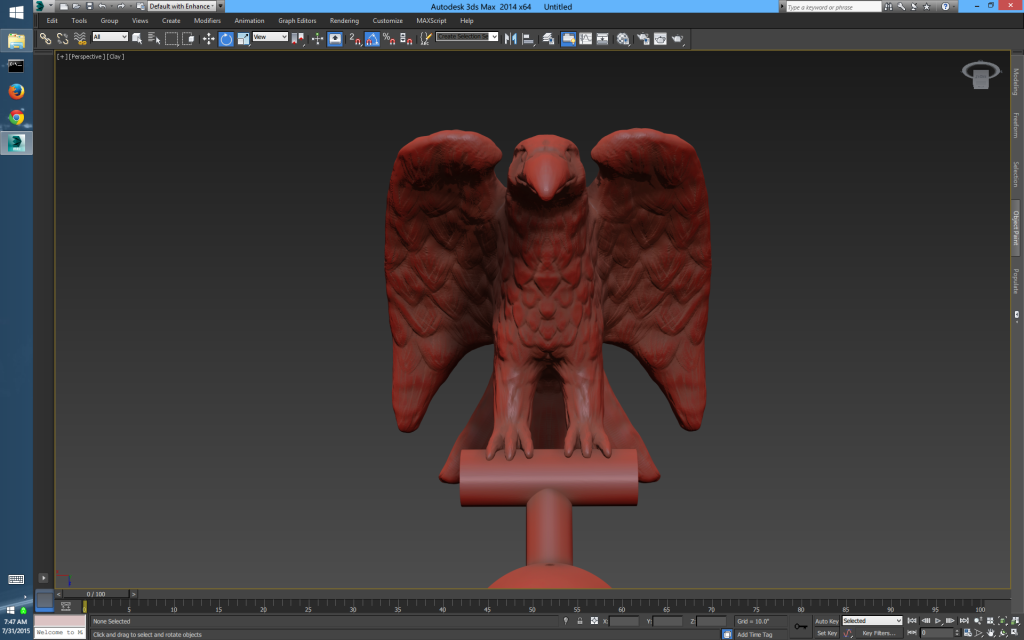
Indeed, this writeup is probably the most detailed study on this subject yet. I won’t repeat too much of what he’s already said—you can check it out yourself. But the result of his in-depth study is that he came up with a 3D model of the Ripley’s eagle, and he was kind enough to share it with me!
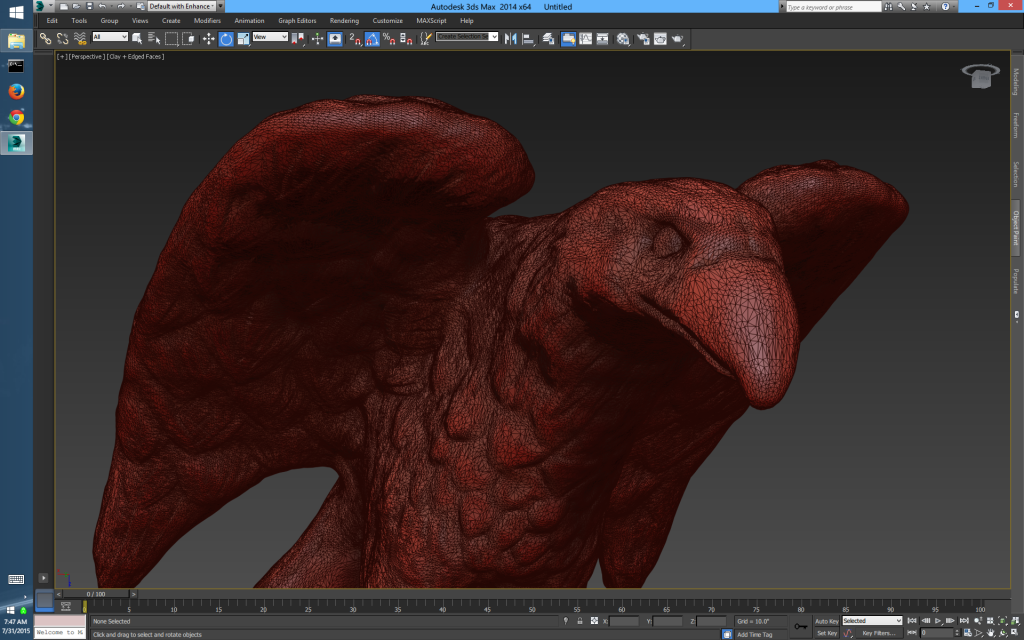
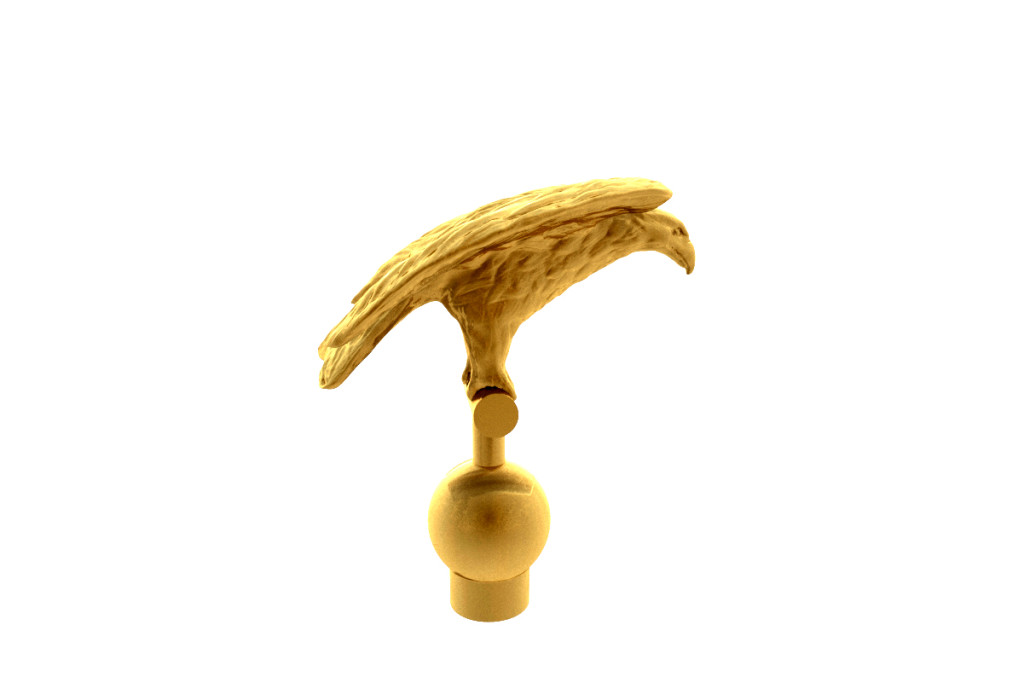
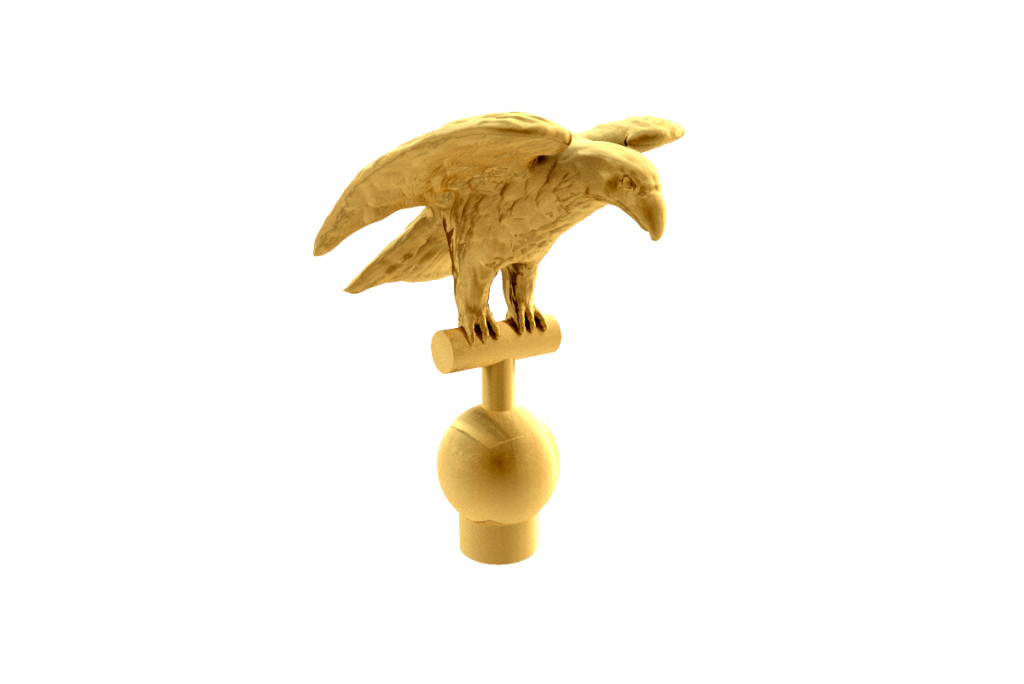
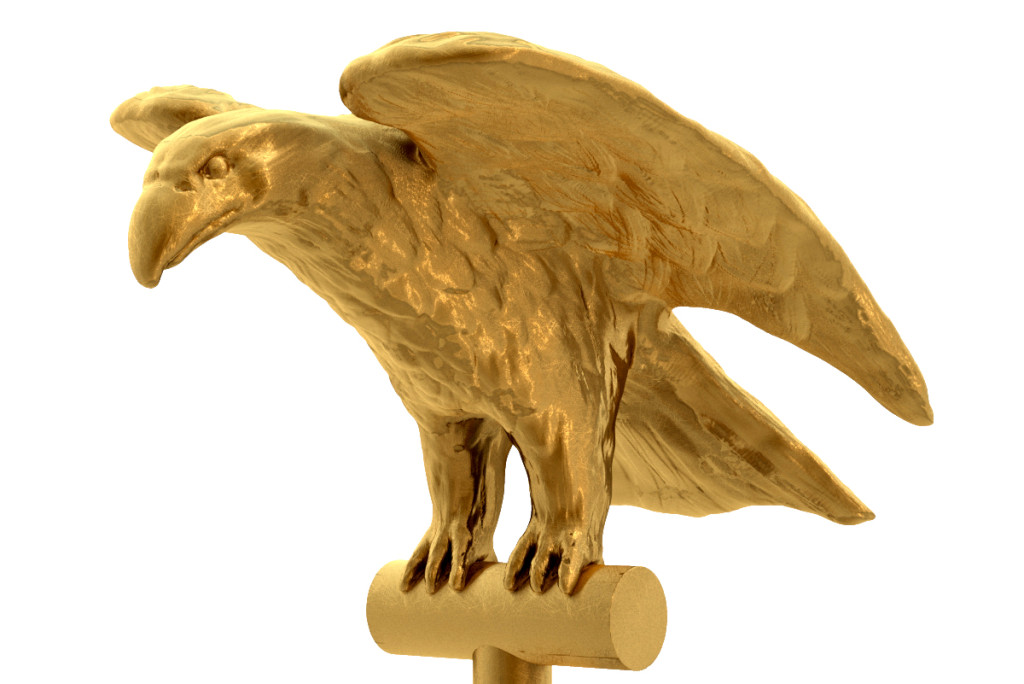
Wow! I already expected much before I saw the model but once I opened it, it completely blew me away! It’s just chock-full of details! The subtle details like each ruffle of the feathers, the eye depressions, the beak, and more, all come together to create this amazing replica. Check out how finely it’s subdivided:
I would guess that it was made in ZBrush.
And so once I had the model, I of course had to render it 😀
The above is the classic profile you might recognize. And here’s a very majestic 3/4 shot of the finial.
And the hero shot:
There’s some real weight in the model, especially when rendered. Great job, Dennis!
Filed under CK Holliday build
